Showing posts with label beverages. Show all posts

Monday, October 9, 2017

The Vitamix: My Kitchen Essential

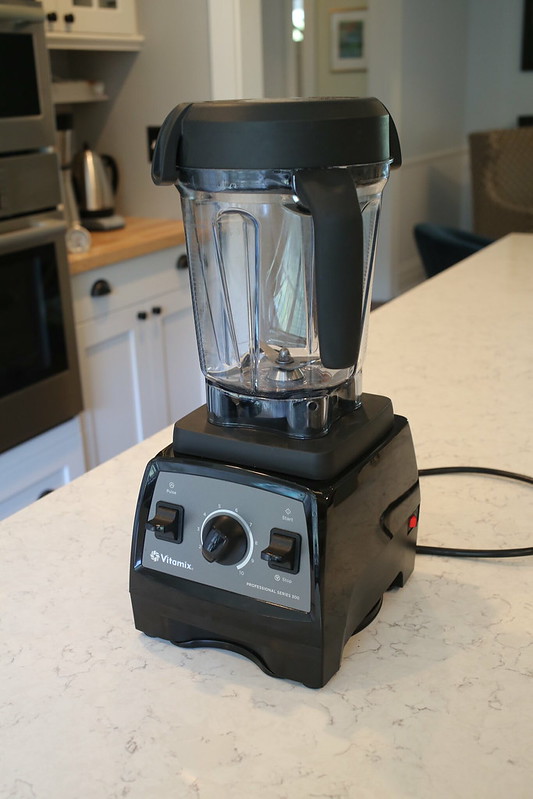
Vitamix


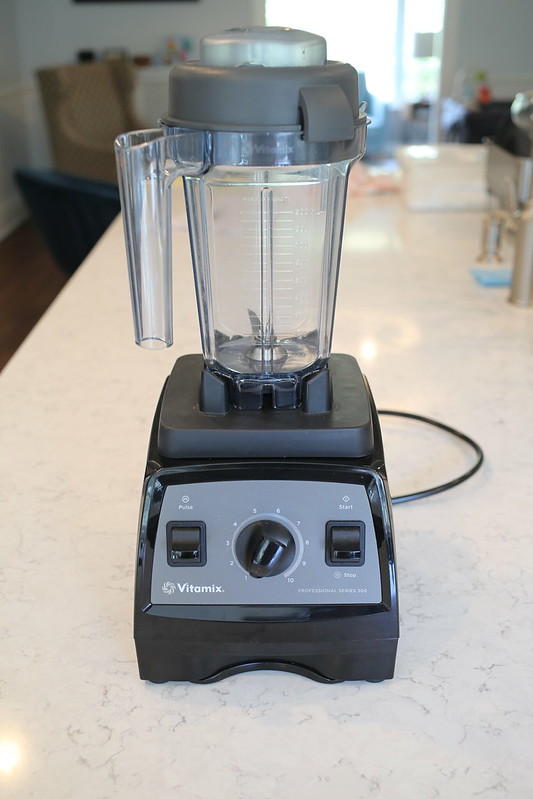
What's my go-to kitchen gadget essential? Definitely my Vitamix! I was recently gifted this gorgeous blender--which is an update from the previous Vitamix model I had. It has an even more powerful motor (2.2HP!) that's somehow even quieter. Blends like a true dream. And even comes with a super large (64oz!) container (pictured below)--great for when you're making soups, family-size batches of anything, or whipping up large amounts of food for a little entertaining.


Vitamix 6

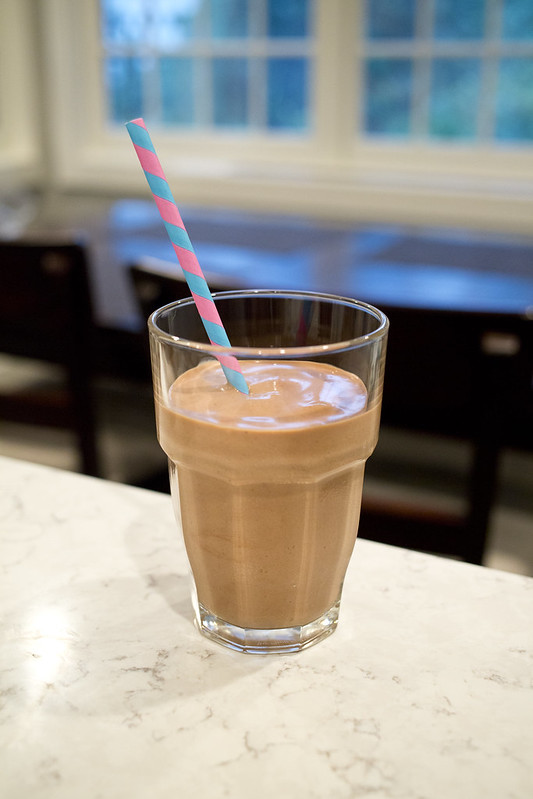
Of course, the first thing that comes to mind when you think blender is smoothie! And rightly so. It takes about 20 seconds to whip up a smoothie in the Vitamix. And when you're done, you just add a touch of soap and fill the container half way with hot water, blend for 60 seconds, and you've got a clean blender! Not bad at all. My frequent regular smoothies are a banana berry smoothie, and a peanut butter banana smoothie (with a touch of chocolate), but there are so many other delicious options (like green smoothies!).  And the Vitamix is also great for making frozen drinks and sorbets. The Vitamix comes with a fabulous recipe book with an impressive variety of ideas. So far everything I've tried has been delicious!

PB banana choco smoothie

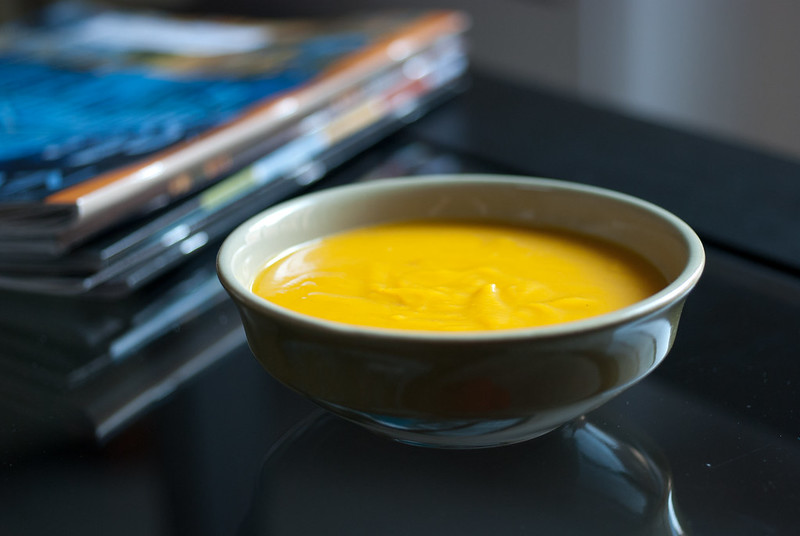
In the winter time, the Vitamix gets pretty heavy use in our home for soups (follow the link for some of my recommendations)! Again, too many great options here to count. One of my all time favorites is butternut squash soup. The Vitamix allows you to vent steam as you blend, so you can make pretty much anything in here. And, if you blend for several minutes, it will actually create heat!

vegan butternut squash soup

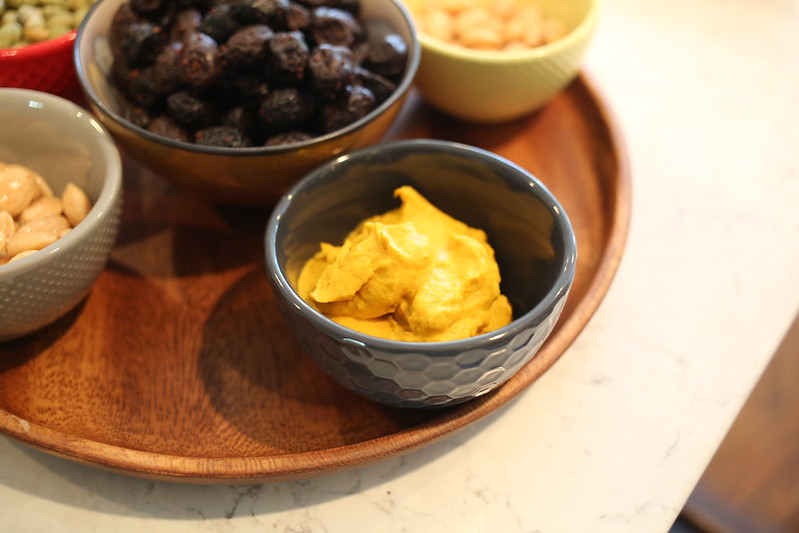
The Vitamix is also a whiz with dips and spreads--pretty much anything you can think of, it can blend! If you're looking for some dip ideas--I love the curried carrot dip from Veganomicon, as well as the white bean aioli!


curried carrot dip

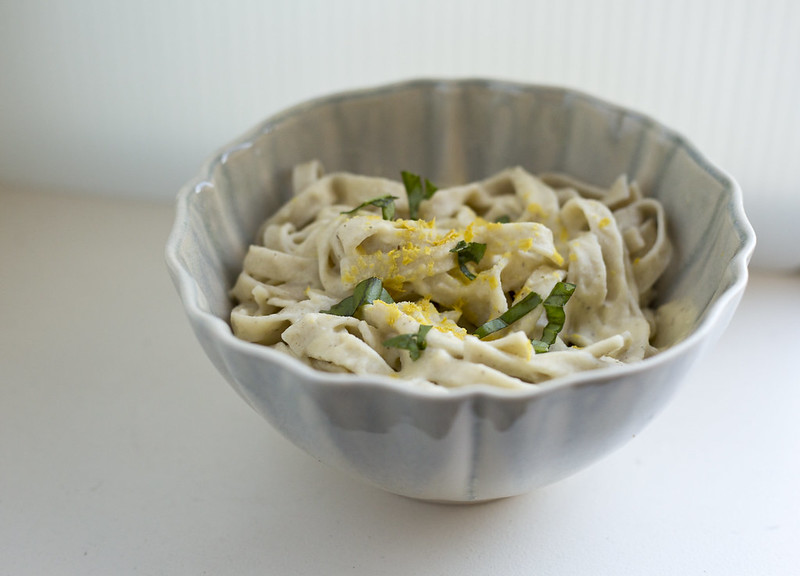
As far as dressings and sauces go this blender is great for any and everything you can imagine. If you're making nut-based pasta sauce, the Vitamix is a real life saver. Cashews are transformed into a smooth and creamy sauce in under sixty seconds. And you won't have to worry about anything chunky or gritty remaining when you're done blending. A high-powered blender is a real must if you're interested in making your own vegan cheese!

Untitled

Vitamix also states their blenders are great for mixing batters and doughs, making juices, nut butters, flours, baby food, and non-dairy milk. I've yet to try these out. I think I'll try my hand at making some almond milk next. Can't wait to give it a whirl--pun intended!

Thursday, September 10, 2015

Vegan MoFo Day 10: Something Blueberry Ice Cream

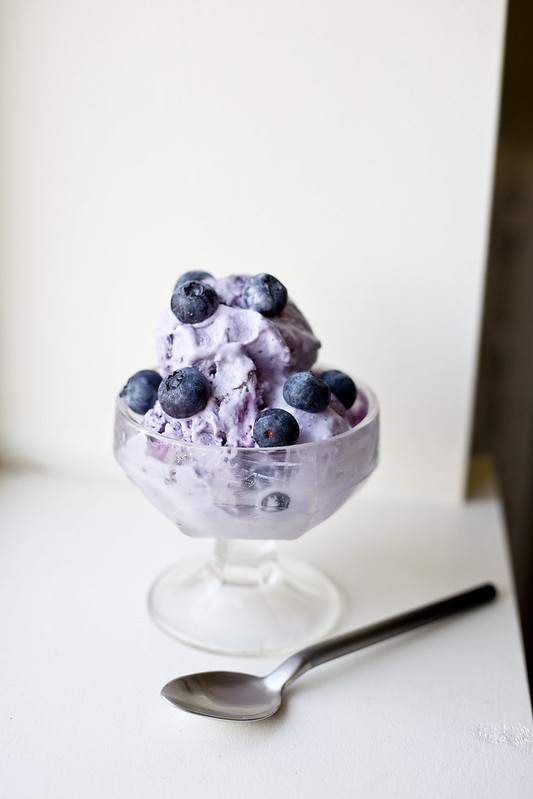
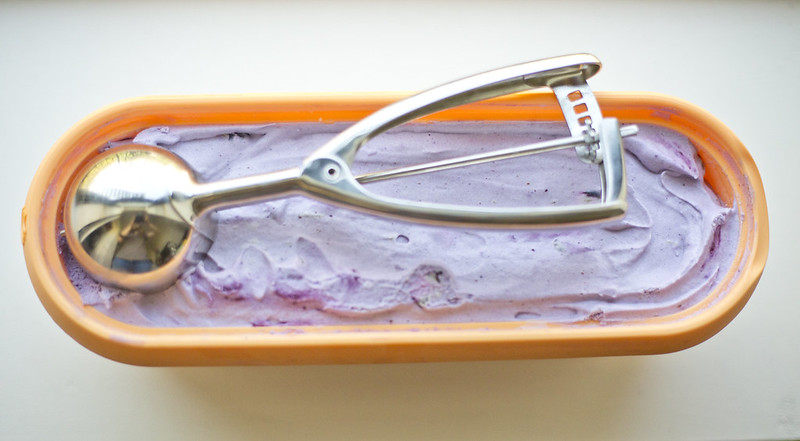
blueberry vegan ice cream

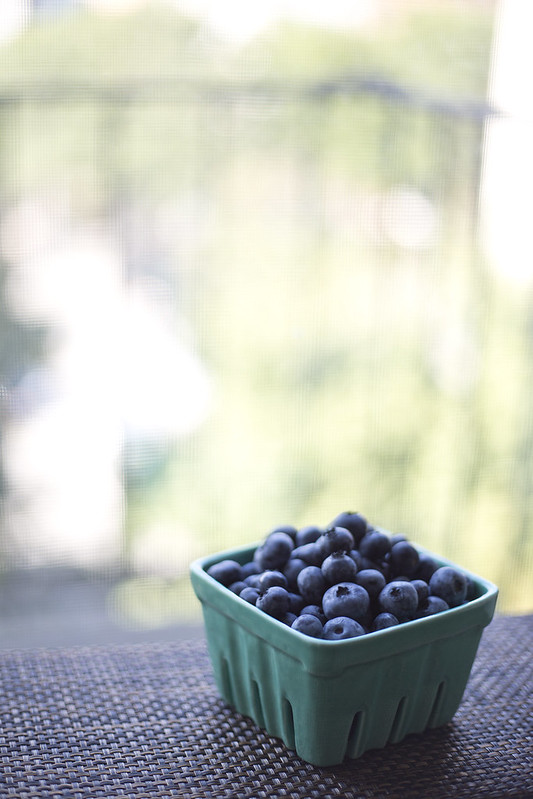
blueberries

Today's prompt for the Vegan Month of Food is "Something Blue."

I wonder if anyone else will have had this problem--when I first heard blue, my first thought was, blueberries!

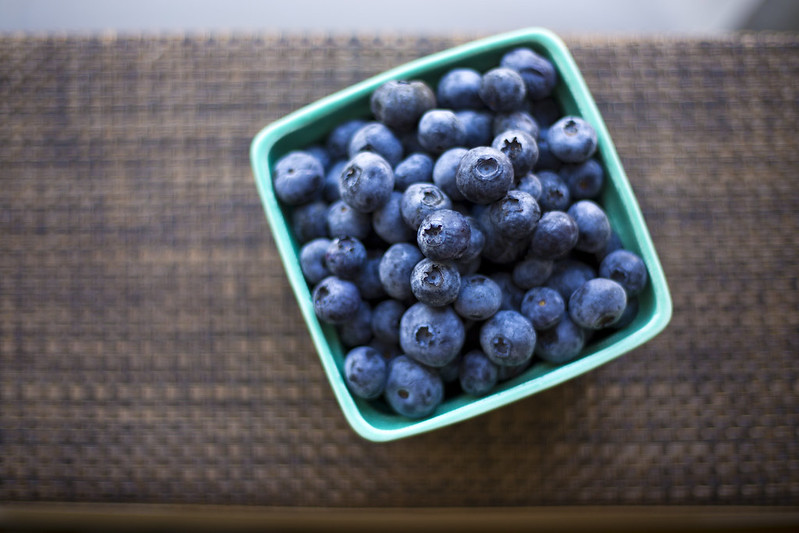
blueberries

My next thought was blueberry ice cream!

I have been very much enjoying making vegan ice cream for the first time ever this year, having recently acquired an ice cream attachment for my stand mixer. It's a real game changer. So far, I've made several batches of ice cream using recipes from Veganomicon (both coffee flavor and green tea), which have been excellent. The texture is spot on (I haven't yet found something that quite compares!), but it is soy-based, and I wanted to come up with something soy-free.

A few weeks back I made the Minimalist Baker's bourbon caramel ice cream--which is amazing. I highly recommend it! I thought I would try combining the two recipes, and came up with this. The cashews are definitely a bit discernible, but the texture is good, particularly with the creaminess of the coconut milk. It does tend to get icy, however, over time. Try to eat it fresh!

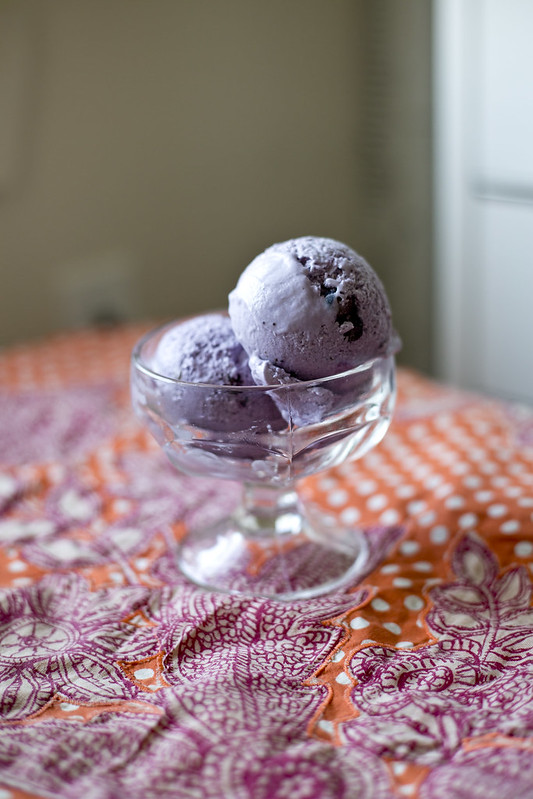
As for the blue factor...I quickly discovered that blueberries make blueberry ice cream....purple.

blueberry vegan ice cream

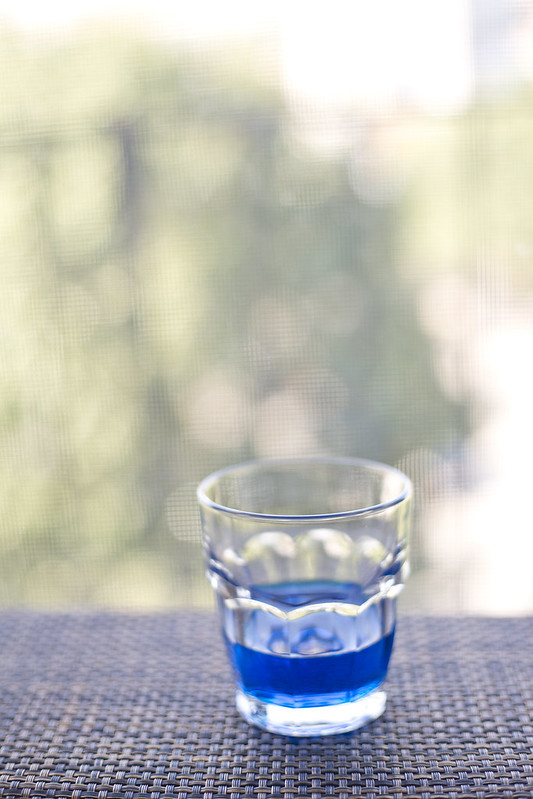
Not to be out done, I tried adding some curacao liquer to my ice cream! It's bright blue, has a sweet taste, and will help with consistency, so I thought that would do the trick.

curacao

Not so much. Still purple:
blueberry vegan ice cream

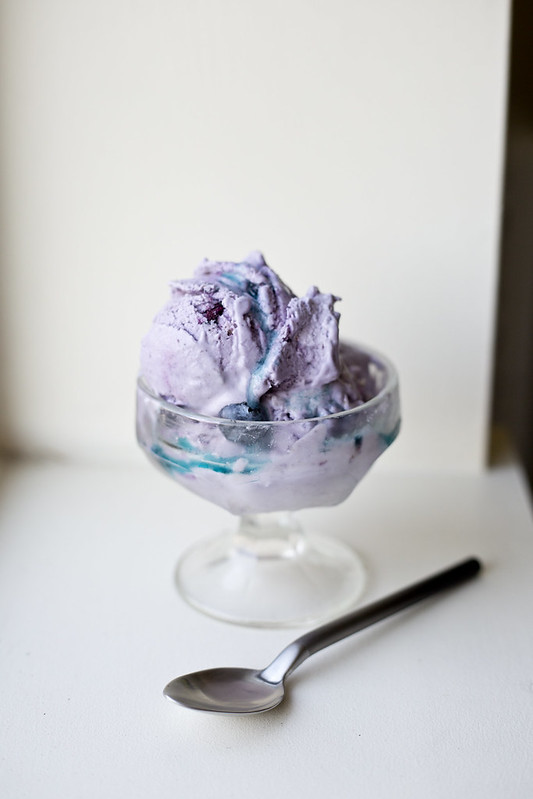
So...in the end, I made a little curacao syrup to go on top! Definitely bright blue. And also quite tasty, if I do say so myself.

Blueberry Ice Cream with Curacao (and Curacao Syrup)

What You'll Need:
Blueberry mixture:
1 cup blueberries for stove
1/4 cup water
1 tbsp arrowroot
2 tbsp sugar
2 tsp curacao

Ice cream base:
1.5 cups raw cashews, soaked overnight (or for at least 6 hours), then drained
1 14-ounce can full fat coconut milk
3 Tbsp coconut oil, melted
1 tsp pure vanilla extract
1/4 cup agave nectar
1/4 cup sugar
Juice from 1/2 lemon
2 tsp curacao (optional)

Curacao syrup (optional)
1/4 cup water
1/4 cup sugar
1 tbsp Curacao

What You'll Need to Do:
Place ice cream attachment in freezer overnight. Place other ingredients in fridge to chill (especially coconut milk), preferably overnight.

Make your blueberry mixture. After blueberry mixture has cooled, add ice cream base ingredients to blender. Once blended, add in blueberry mixture. Transfer to your ice cream maker and churn for approximately 40 minutes (until ice cream reaches consistency of soft serve). Chill in freezer for 4-6 hours before eating. It will keep up to one week but best when fresh (if it's been in the freezer for a few days it makes a great milkshake! See below). 

Make caracao syrup (optional):
Mix water and sugar over medium-high heat until sugar is dissolved, then simmer for 7 minutes. Add in Caracao and simmer for another 2 min, remove to heat and allow to cool.

curacao
Et, voila!

blueberry vegan ice cream

Tips and Tricks:
Shake it up!

This blueberry ice cream is totally amazing in milkshakes. Just add your favorite non-dairy beverage (about 2 parts ice cream to 1 part milk for a thick shake) blend and enjoy!

I made a cookies 'n cream milkshake with the bourbon caramel ice cream that was out of this world!

Friday, July 4, 2014

Summer!

smoothie

Happy 4th of July!

Summer's here! And so am I! Sort of.... 

I know things have been very quiet over here on my blog post front--it's been a very busy time for me in my personal life, but I've been brewing on all kinds of great recipes I can't wait to share. I'm leaving the country for several weeks, but look forward to sharing some great recipe ideas upon my return!

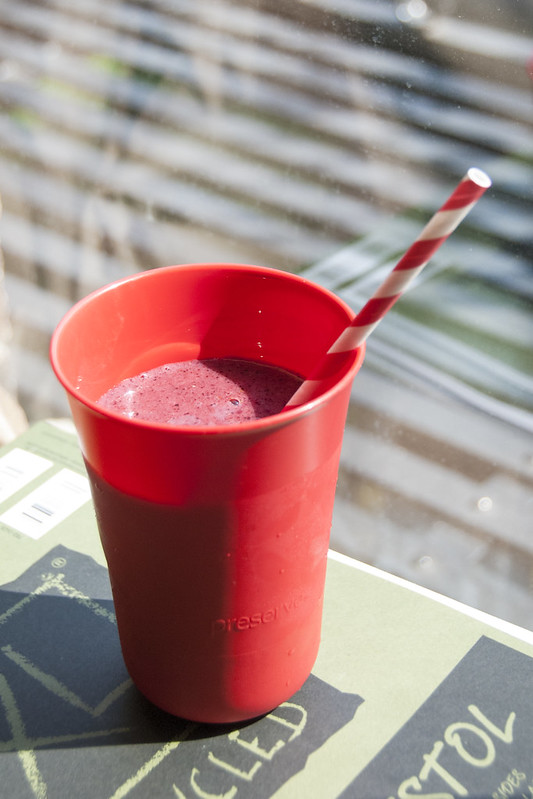
In the meantime, why not help yourself to a cool beverage? You can check out some of my old favorites, like the Chocolate-Peanut Butter-Banana-Tofutti Cutie shake or some chilly basil lemonade.  Last summer I posted a different banana-berry shake, but you can give this one a try as well!

I just threw this together with what I had on hand, but in August I'll share some more creative concoctions with you!

Simple Banana-Berry Smoothie
Makes enough to fill 2 large glasses

What You'll Need
1 cup frozen strawberries
3/4 frozen blueberries
1 banana
1 cup orange juice
up to one cup almond milk
1 tbsp agave nectar or maple syrup, to sweeten to taste (optional)

What You'll Need to Do
Throw them in the blender, in the order listed, adding 3/4 cup almond milk and no sweetener to start. Blend, taste, and add more liquid or sweetener as desired.

See my previous entry for some smoothie Tips and Tricks!

Sunday, February 9, 2014

Pushcart Coffee: Vegan Options in Gramercy

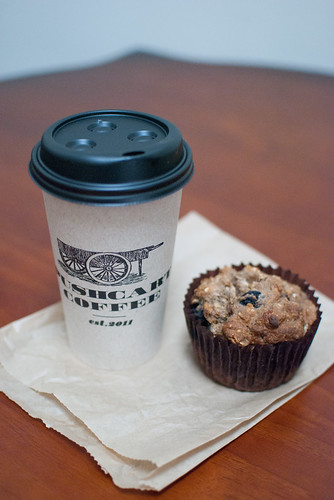
Pushcart Coffee and vegan muffin
Pushcart Coffee opened up in the Gramercy area (on the northeast corner of 21st St and 2nd Ave) not too long ago, and it's a really great neighborhood coffee shop, that places importance on the local  community. It's also a nice little cafe--not overly-crowded, but often quite busy. They occasionally host events like writers' groups and musical performances. While I'd stopped in for tea or coffee occasionally (they offer soy, almond, or coconut milk at all of their locations), I'd never tried any of their food until last week.

As I perused the pastries, a vegan muffin stood out to me. I decided to give it a try, and I was glad that I did! I'm always hesitant about places that only serve a few vegan baked goods; I'm often so disappointed at how dry or dense they can be when not properly executed. Not the case here! This was a very hearty muffin--packed with oats and fresh blueberries, and a good amount of banana, which gives it a moist, thick texture that's hearty but not overly heavy.

They also introduced a vegan noodle and herb soup a few weeks ago!

If you're ever in the neighborhood, I'd definitely stop on by and check it out!

They also have a location in Chelsea, on West 25th St (between 9th and 10th Ave).

Sunday, January 12, 2014

Vegan Marshmallows

20140112_marshmallows_0084
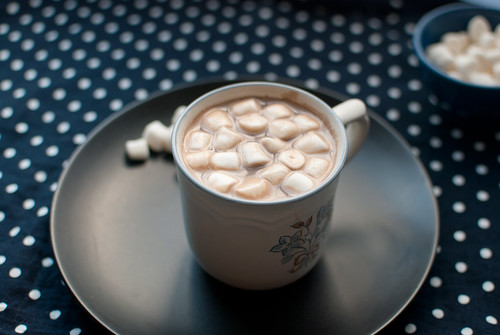
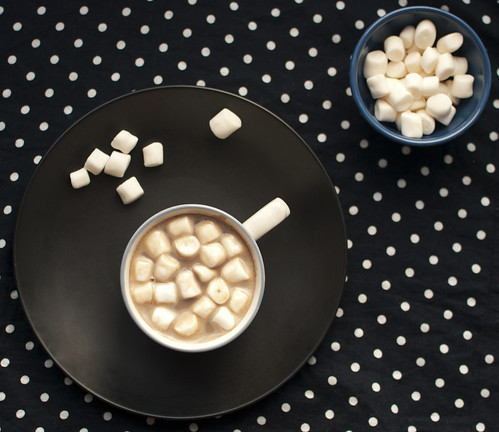
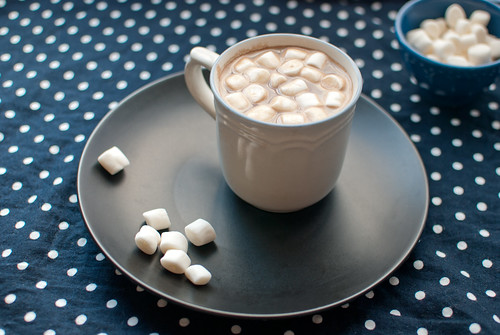
This cold weather has me cuddling up with a cup of hot cocoa fairly often these days!

This post isn't a recipe...it's just a discussion of some choices if you're looking for some marshmallow options that do not contain animal by-products. Most marshmallows you can buy in the supermarket contain gelatin. Despair not! There are some other great alternatives.

I've been munching on vegan marshmallow s'more sandwiches by Sweet & Sara for years now. They have them at my nearby health food store, and they are deliciously addictive. A graham cracker base, with a vegan marshmallow on top, all covered in chocolate. What's not to like?! They're awesome.

I have to admit, even for all the joy those s'mores sandwiches give me, I hadn't even considered buying their marshmallows to make actual s'mores. But you can, and I don' think you'll be disappointed. They can be used for rice crispy bars, too! And you can find them at many natural foods stores, including many Whole Foods locations (see their site for details).

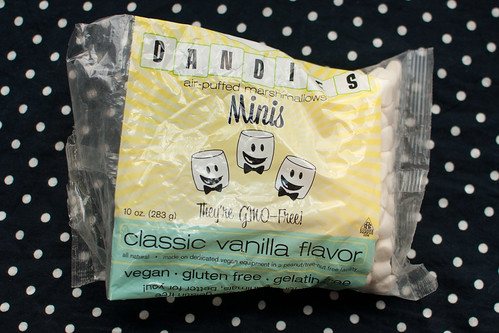
The Sweet & Sara marshmallows are large and in charge. Great for s'mores, rice crispy treats, and lots of other baking options! Personally, though, I like something a bit smaller for my hot cocoa...and a few weeks ago I tried out a new brand, Dandies Marshmallows.
20140112_marshmallows_0060

They are very tasty! Nice and soft, a bit airier than the Sweet & Sara brand, although both have a really great, vanilla marshmallow taste!
20140112_marshmallows_0001
They also have a larger size available, which would be great for roasting over an open fire, or throwing in some rice crispy treats or sweet potatoes.

The only disadvantage? Both options are a bit more expensive than traditional marshmallows. But if you're looking for a little sweet indulgence, they're completely worth it.

It's hard to believe that it's taken me so long to explore all of the options for one of my favorite winter beverages (hot cocoa!)...but I am so glad I did. And if you're looking for some vegan hot chocolate options, check out my recipe, here.
20140112_marshmallows_0098

Enjoy!

Wednesday, August 21, 2013

Chilly Basil Lemonade

20130601_basilemonade

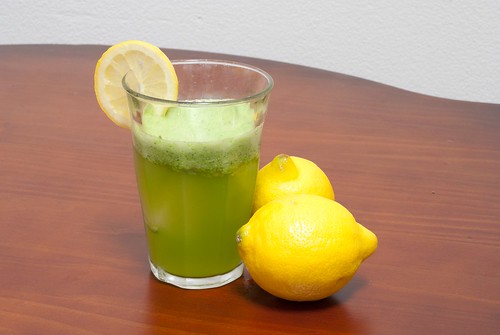
This super-simple, refreshing drink is perfect on a hot summer day!
Chilly Basil Lemonade
What You'll Need
6 cups water
3 lemons (peeled, seeded, and chopped)
1/3 cup sugar* (or 1/3 cup agave syrup**)
1 cup basil leaves (fresh, not dried!)
2 cups ice cubes
You'll also need a blender!

What You'll Need to Do:
Place ice and water in a blender, and blend until crushed. Add the lemons, sugar, and basil, and blend for several minutes until well combined and desired consistency is reached. Enjoy!

20130601_0018

Some Tips and Tricks
The recipe makes about 6 cups (good for hosting!), but you can cut it in half if you're looking to make enough for 1-2 people.

Hosting a summer dinner? Feel free to add some vodka in! About 1 shot per 8 oz. glass should do it. The flavor blends in quite smoothly with the lemonade.

*not all sugar is considered strictly vegan, see my "Vegan Pantry" page for more info

**Exactly what is agave syrup? Basically, it's a nectar extracted from the agave plant. It can be used as a substitute for sugar in most recipes, and while I've used it from time to time, it has its own drawbacks (The "healthfulness" of agave has been a subject of much debate in the natural foods community). But if you have some lying around, or prefer it over cane sugar, it's a nice option for this recipe.

Monday, June 3, 2013

Chocolate-Peanut Butter-Banana-Tofutti Cutie Shake!

20130601_0027

I've been experimenting with Tofutti Cuties this week.

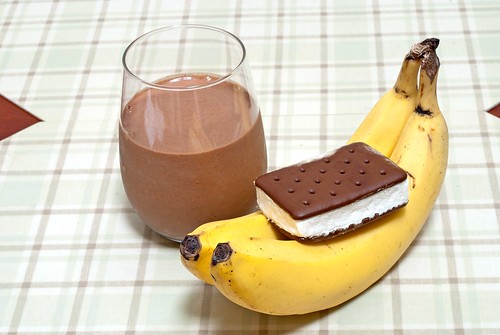
What are Tofutti Cuties? Delicious, vegan ice cream sandwiches! My sister first turned me on to these several  years ago (they are also kosher!). These little bitty sandwiches come in packages of eight, with vanilla, cookies 'n cream, mint chip, berry or chocolate filling. I think they make a great, affordable addition to a shake (vegan ice cream can be expensive, but Tofutti cuties cost just about 75 cents each). If you haven't found a vegan ice cream that you're happy with, go ahead and give these a try anyhow. I know lots of people who don't care for the almond or soy-based ice creams but many of them enjoy these Cuties nonetheless.

So if you're in the mood for an ice cream sandwich, grab a box of these guys!  They're a perfect treat on a hot summer day. And the next time you're in the mood for a shake, throw one of them in! Here's a recipe idea to get you started.

Chocolate-Peanut Butter-Banana-Tofutti Cutie Shake
makes 1 3/4 cups

What You'll Need:
1 Tofutti Cutie, broken into pieces (vanilla, chocolate, or cookies 'n cream)
3/4 cup dairy-free milk (I like to use coconut, but soy or almond will work as well)
1 frozen banana, broken into chunks
2 tbsp cocoa powder (if you use a chocolate Tofuttie Cutie, reduce to 1 tbsp)
2 tbsp peanut butter
1 tbsp sweetener (I'd recommend agave nectar* or maple syrup)

What You'll Need to Do:
If using a high speed blender, you can throw everything in there and blend until smooth. If you're blender's got a little less power, no problem. First, blend together the banana and the milk. Once it's nice and smooth, add in the rest of the ingredients and blend again.

*see my "Vegan Pantry" page for more information on agave syrup

Sunday, May 26, 2013

Banana-Berry Smoothie

20130525_0005_1
As promised, I have a new recipe to share with you--just in time for summer!

I've always been something of a smoothie nut--at least when I've had access to a good blender! I have fond memories of frequenting a smoothie place that opened up right near my house when I was in middle school. My sister and I fell in love with these smoothies, and we soon realized how easy it was to make our own delicious, refreshing drinks filled with all kinds of tasty stuff! Every summer we would pull out the blender in our kitchen and mix up all sorts of different concoctions.

When the warm weather came around this year, I was thrilled to start experimenting with my new blender. I've been mixing things up pretty much daily for the last week or so, and when my boyfriend claimed this smoothie as his favorite, I figured it would be a good pick for a post.

Banana-Berry Smoothie
Makes about 3 cups
What You'll Need:
1 1/2 cups strawberries, frozen (about 8 oz.)
1 6 oz. container almond, coconut, or soy yogurt (I use plain, but a fruit flavor would work, too!)
1/3 cup blueberries
1 banana, frozen, and broken into large chunks
1-2 medium sized carrots, peeled and roughly chopped*
3/4 cup orange juice
up to 1 cup almond, rice, or soy milk

What You'll Need to Do:
If using a high-powered blender, add ingredients in the order listed and secure the lid. Start off at a slow speed, and quickly increase to the highest speed for your blender. Blend until smooth.

*If using a less powerful blender, you will have to grate the carrots or omit them. You'll also need to add the ingredients in batches. Add about half of the strawberries and bananas in with the orange juice and yogurt and blend until smooth. Add in the remaining ingredients and continue to blend until desired consistency is reached.

If you like your smoothies really thick, you can omit the milk altogether. If you'd like to thin it out a bit, add 1/4 to 1 cup milk and blend until desired thickness is reached.

Tips and Tricks
If you like (or would like to start) making smoothies in the summertime, stock up on your favorite fruits and yogurts. Alternatively, you can use silken tofu to thicken up your smoothies as well (I have some smoothie recipes utilizing this ingredient coming soon!).

Bananas are a nutritious and inexpensive addition to any smoothie, and even if you're not a huge fan of their flavor, it is oftentimes masked by the other ingredients. You can even buy the day old bananas at the market to save even more--just be sure you get them into the freezer as soon as you can! Peel and freeze bananas in a plastic baggie or other container in your freezer. And no need to stop with frozen bananas--you can chop and freeze things like mangoes and other fruits as well.

Fruit-filled smoothies also offer an opportunity to slip in other healthy ingredients, such as the carrots in this recipe. The carrots have a bit of a sweetness to them which meshes well with the other ingredients. Their taste was virtually imperceptible in this particular recipe.

Saturday, February 2, 2013

Quick 'n' Easy Vegan Hot Cocoa

As snow dusted New York City yesterday I had a craving for one of my favorite winter treats...hot cocoa.

hotcocoa_20130201_06

Hot chocolate has always been a favorite indulgence of mine. With time...and age...my love for it has hardly waned. When I stopped having milk products I struggled with saying goodbye to hot cocoa. I soon discovered several vegan options for hot cocoa powder, but ultimately found that they lacked the richness and flavor so easy to attain in those instant hot cocoa packets of my youth! They were also quite expensive, and could be difficult to track down outside of a big city.

Luckily for me it wasn't long before I discovered Ghirardelli double hot cocoa powder. Its not the most budget-friendly version of hot cocoa, but certainly every bit as rich and delicious--if not more so--than the Swiss Miss and Carnation hot chocolate packets from the grocery store. A little does go a long way, so a splurge on one can of the mix (which goes for about seven or eight dollars) could potentially get you through the winter--just mix with your non-dairy milk of choice (although I recommend soy milk, see below*), and follow the directions as you would for the regular old cow's milk version.

If, however, you want something you can throw together with ingredients you likely already have in your kitchen, check out this easy alternative!

hotcocoa_20130201_01
Quick 'n' Easy Vegan Hot Cocoa
servings: 2
What You'll Need:
2 cups soy (or almond) milk*
3 tbsp cocoa powder
3 tbsp sugar**
1/4 tsp vanilla extract
1/4 tsp chocolate extract (optional)
Vegan whipped topping of choice or vegan marshmallows (optional)***

What You'll Need to Do:
Add soymilk to a small saucepan and heat over medium heat, stirring frequently with a small whisk (this will help you get maximum frothiness), until desired heat is reached. Once milk is heated through, add vanilla, sugar and chocolate, stirring continually until fully dissolved. Remove from heat, pour into mugs, and serve immediately!

Tips and Tricks
You may want to increase the amount of cocoa and sugar (by about 1tsp or so) if you prefer a richer flavor.

*You can use any dairy-free milk you'd like, but I find that soy milk has the thickest body, and works best for this type of drink. The next runner up is almond milk, followed by rice milk (which is much thinner and not quite as rich as the other two). The type of soy milk you buy makes a difference, too. For this recipe, I'd recommend using an "original flavor" (these are slightly sweetened, if you use an "unsweetened" milk, simply add more sugar to taste). See my "Vegan Pantry" page for more information about the different dairy-free milk options available.

I like heating my milk in the saucepan--I think it gets the best even temperature this way, and stirring the cocoa powder and sugar in while it's still very hot allows them to dissolve and be distributed evenly. You can, however, heat your milk in the microwave if you prefer, it should need just 90 seconds to heat, and you can stir in the cocoa powder and sugar immediately after removing (this would work especially well if you're just preparing one serving!).

I use soymilk with a little added vanilla, because I don't generally drink vanilla soy or almond milk. If you have either of those on hand though, just leave out the vanilla extract and save yourself a step!

**Not all sugar is strictly considered vegan, see my "Vegan Pantry" page for more information.
***see my entry on vegan marshmallows for more information, or my tips below for a discussion of vegan whipped toppings.
hotcocoa_20130201_12
Some Notes on Whipped toppings:
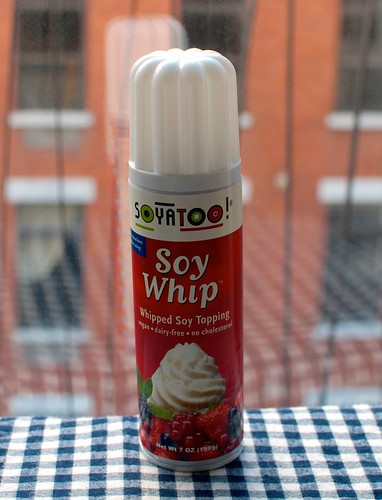
I used Soyatoo! Whipped topping for my hot chocolate. They make both soy and rice versions. I've never tried the rice-based topping, but I really like the soy one. This canned whipped cream is the closest approximation to the dairy version of whipped cream that I know of. However, they have changed something in their ingredients or manufacturing in recent years, and I've had a bit more trouble getting the can to dispense the last few times I've used this product. The can instructs you to leave it out to warm up for about 10 minutes, but this is not enough time--the cream is still too cold and hard to dispense. The easiest solution is to run it under hot water, shaking the can after about a minute or so to see if the cream is moving inside. Once you feel it moving, give it another few good shakes and then spray, if it still has trouble coming out you'll need to heat it up a bit more. A bit frustrating, I know, but well worth the little bit of extra effort if you ask me!

Soyatoo also makes a boxed version of the whipped cream that you can whip yourself, which apparently is quite good but a bit hard to find (although I've seen both versions available at Whole Foods). And if you're feeling extra ambitious, or don't want to use a processed product, you can always make your own vegan whipped cream (most commonly using tofu or coconut cream). This is something I've been meaning to try for years...but I haven't gotten around to it just yet.

Recipe Update (1/2014): This recipe originally called for just 2 tbsp of cocoa and sugar. This is fine if you want a more subtle, mellow cocoa but, over time, I've found I prefer 3 tbsp!

Friday, December 7, 2012

Spiced (and spiked) Apple Cider

20121117_0006

My birthday is in mid-November, and with a chill in the New York air, I thought it would be lovely to have some apple cider at my birthday celebration (to go with my apple cider cupcakes!). We had a little bourbon left over from a cranberry sauce experiment, so this seemed like the perfect use for it! So with my boyfriend's help, we threw this together for our guests, and it was a hit! 

What You'll Need:
1/2 gallon apple cider (we used some local New York cider--really yummy!) 
2 1/2 cups bourbon 
1 tsp whole cloves 
3 cinnamon sticks 
1/8 tsp allspice 

What You'll Need to Do:
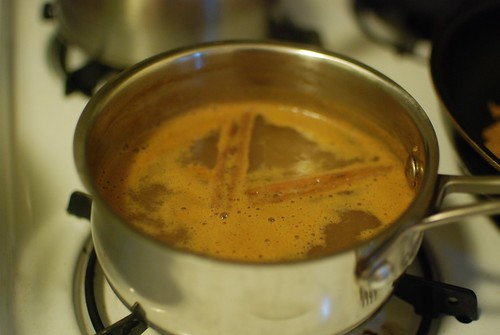
Just heat it all up over medium heat, being sure to stir frequently. Once it reaches a temperature you're happy with, turn the heat down all the way and keep it covered until ready to serve! 

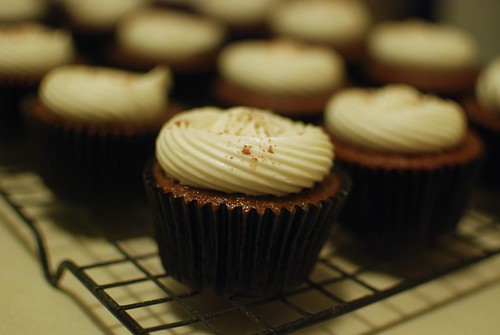
We actually doubled this recipe for our party.  If you're feeling really ambitious, you can whip out some apple cider cupcakes to go with...!
vegan apple cider cupcakes

These ones are from Vegan Cupcakes Take Over the World, probably the best source for vegan cupcake recipes available (more on this in a later entry!). This recipe is particularly complex, but it makes for an especially rich cupcake. It involves boiling down some spiced cider with agar agar, apple butter, and apple cider vinegar, all kinds of apple-y goodness!