Showing posts with label sides. Show all posts

Sunday, October 8, 2017

Salad Time!

20160521_iPhone_food_010


When it comes to salad options, there is no shortage of fun, filling, and delicious recipes for plant-based dining.

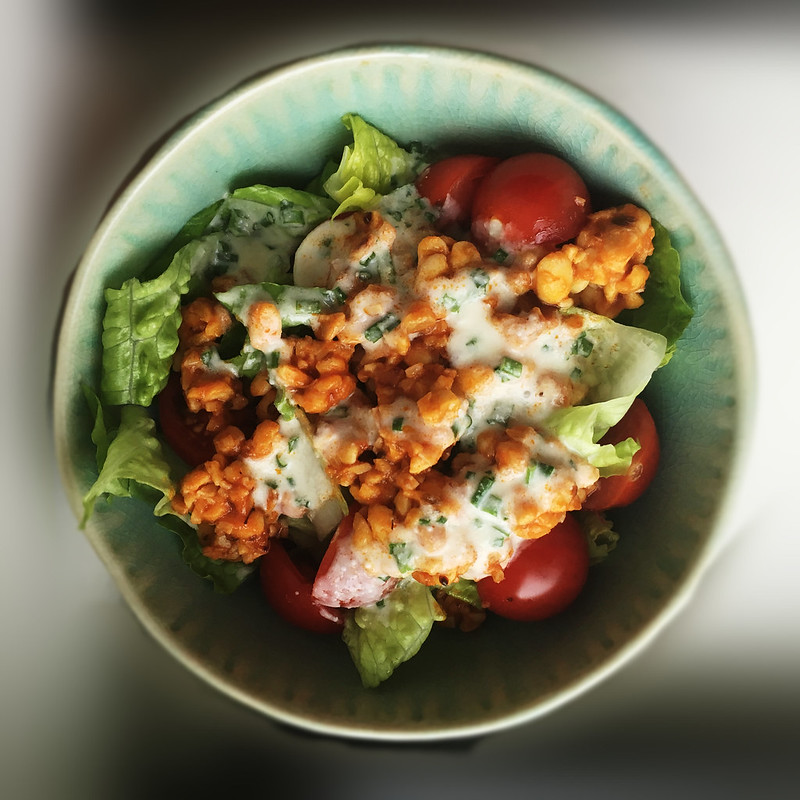
The recipe for the ranch salad with buffalo tempeh pictured above comes from Isa Chandra's site. It is filling and--equally as important--packed full of flavor.

One of my favorite recipe books is Salad Samurai, by Terry Hope Romero. With a variety of hearty options, and organized by season (so that the produce you use in each salad is at its best) this book really has it all. I've yet to be disappointed with a recipe. Some are certainly more time intensive than others, but all yield extremely satisfying results. I brought the blueberry tamari greens bowl to a work party and it was a smash hit, and I've made the green curry lentil quinoa salad for a gluten-free friend (delicious!). More recently I made the smokehouse chickpea salad, which my husband and I devoured. Many of her recipes call for the use of a grill or cast iron grill pan--and these are some of my favorites: the roasted corn salad with avocado is the perfect summer salad, the fiery fruit and quinoa salad kind of blew my mind, and the pesto cauliflower and potato salad? Incredible!


Friday, October 6, 2017

Vegan Cheeze-a-licious

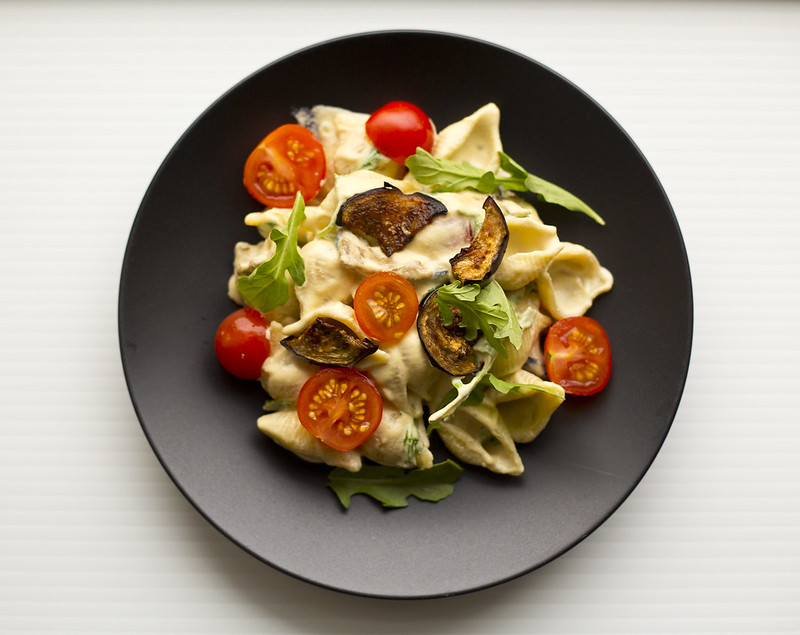
20160709_BLTmacncheeze_0006


Today for the Vegan Month of Food we're talking all about vegan cheeze!

I wanted to go over some of my personal favorites, starting with the recipe above which is one of my go-tos for vegan mac and cheeze. The recipe comes from Isa Chandra, for her BLT mac and cheeze (complete with tomatoes and eggplant "bacon"). The sauce is cashew-based and creamy, and you'll have to work hard not to devour the eggplant before it gets added into the pasta!

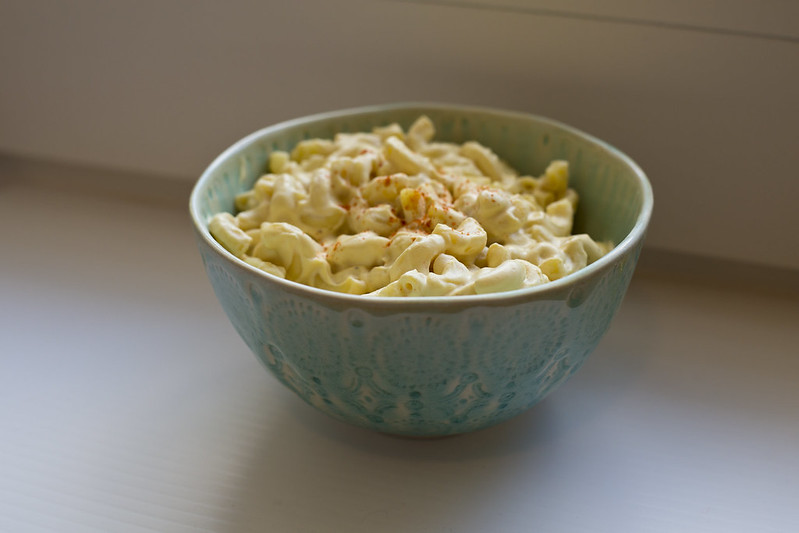
Inspired by Isa's recipe, and a smoky mac I had at an NYC restaurant, I developed a smoky mac and cheeze that I also love, which involves a little liquid smoke for a flavor kick.

smokey mac

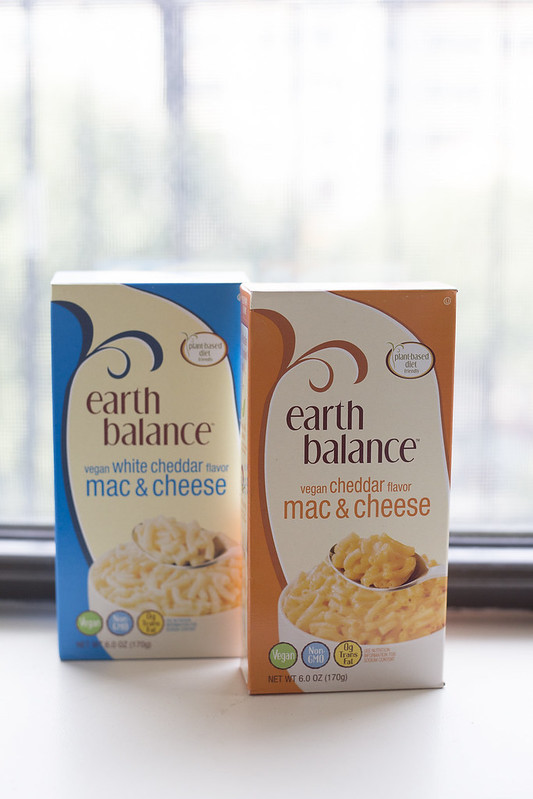
Don't have the time (or the blending power) to make your own cashew-based macaroni and cheese? How about trying out the instant mac and cheeze from Earth Balance. It's sort of like the Kraft mac 'n cheese of the vegan world--although I think it's even better!

Untitled

You can often find these at Whole Foods, or from online retailers like Thrive Market.

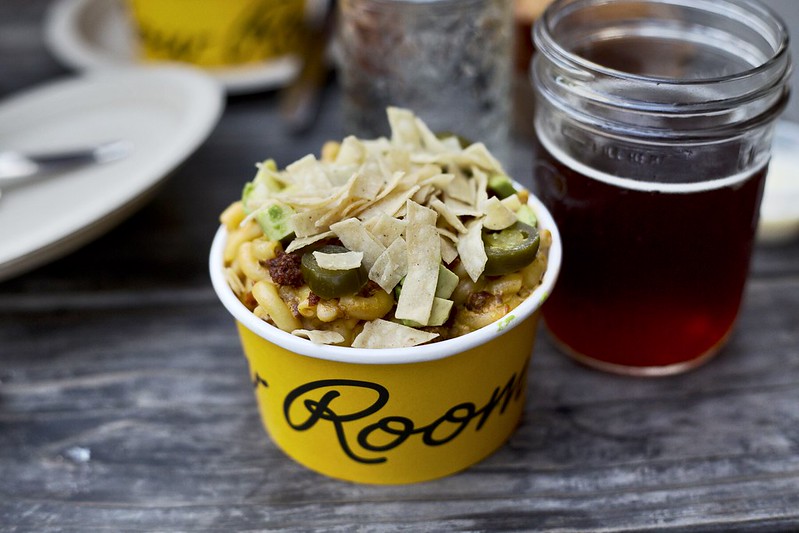
If you're looking to have someone else make the mac, and you're in the New York area, I recommend going to Morgan's in Brooklyn. They have a delicious vegan mac with avocado, veggie chorizo and jalapeños!

20150923_LVE_0007

Looking for vegan cheeze you can order online? Miyoko's Kitchen has some super amazing cashew-based options that are the best I've ever had (they also have a mac and cheeze sauce!).

Untitled

For the ambitious home cook, Miyoko also has an amazing cookbook (Artisan Vegan Cheese) with recipes for cheeses you can make at home. Many involve creating your own culture (which is a lot of work, but very rewarding!).

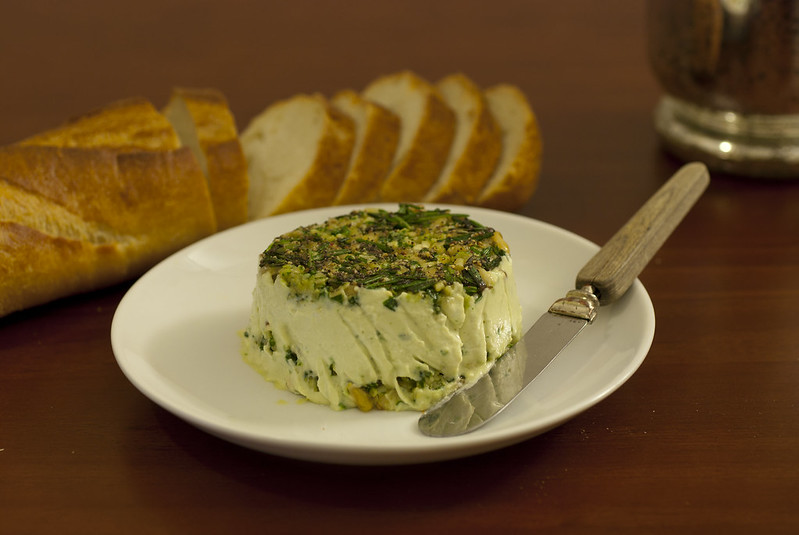
For a simple cheese you can create in an afternoon, one of my favorites is this "goat cheese" from the Fork and Beans blog.

"Green" Cashew Cheese Spread

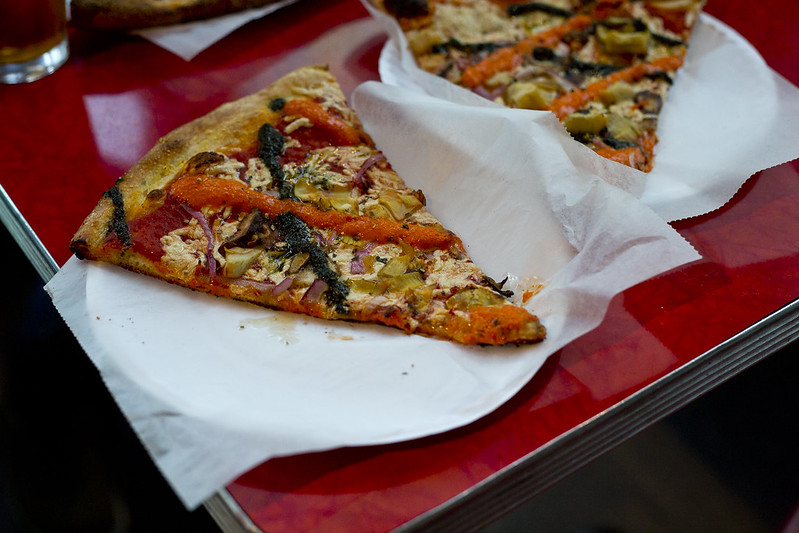
If that sounds like too much work and you're in the New York area, there are some great vegan pizza options!

I love Two Boots' V is for Vegan pizza--you can read more about it here.

Untitled

What are your favorite vegan cheezes? I hope you have a chance to try one of these! I'm getting hungry just looking at them!

Sunday, August 16, 2015

Easy Roasted Brussels Sprouts

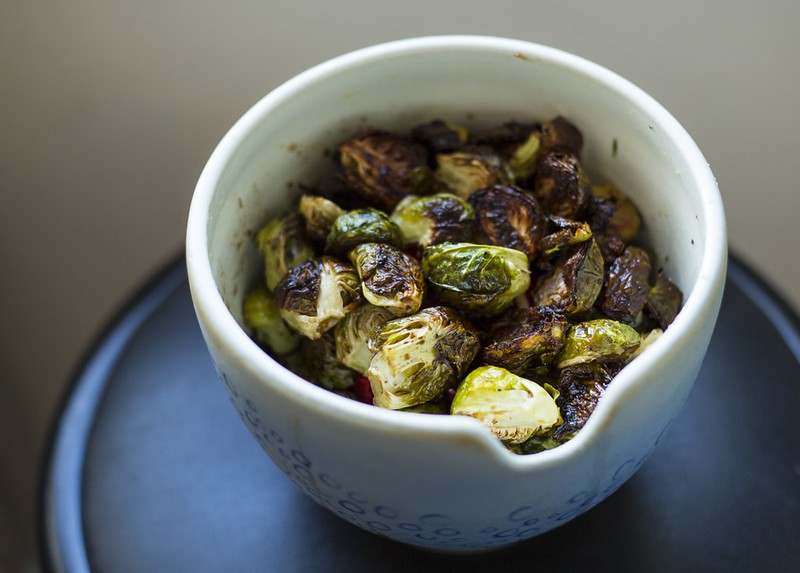
brussels 2


Some people say they don't like brussels sprouts. To them I say--have you ever had roasted brussels sprouts?


Roasted brussels sprouts are super easy to make, and remarkably delicious. If you're looking for an easy green addition to a meal, I would definitely give these a shot.

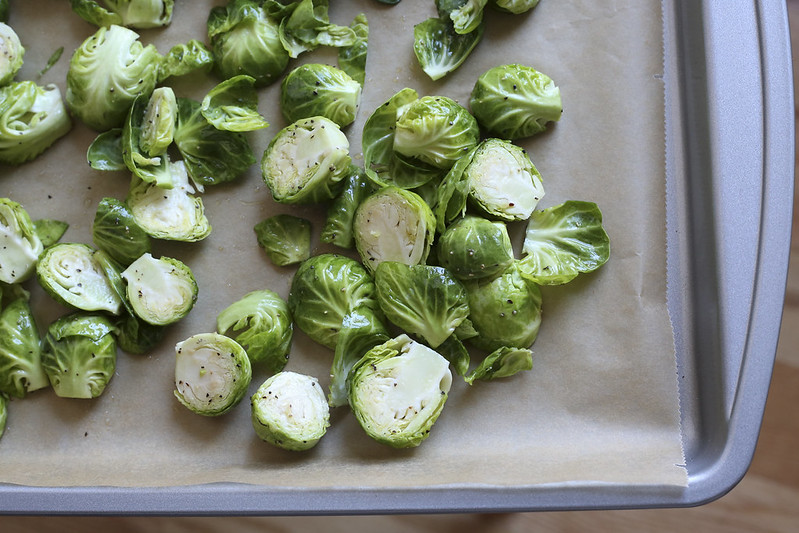
brussels 5

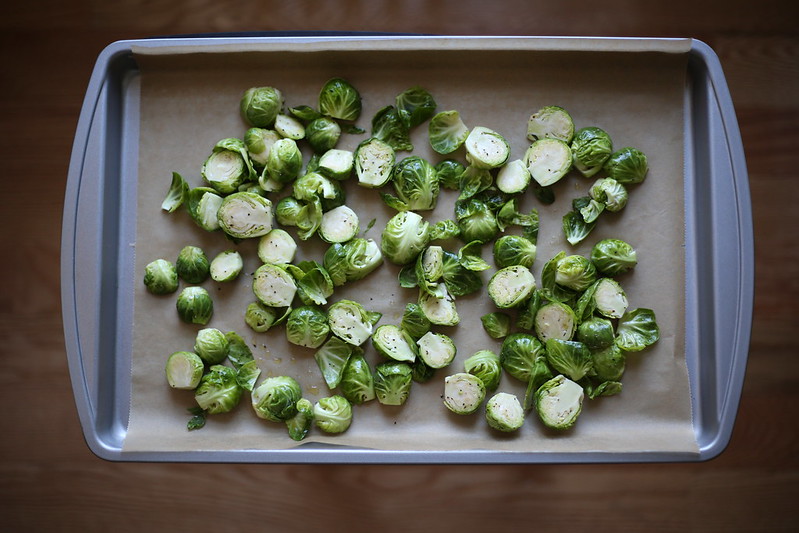
All you really need to do is slice off their stalk-y ends, cut them in half, coat them in a little bit of flavor, and throw them on a tray into the oven.

brussels 3

Easy Roasted Brussels Sprouts
What You'll Need:
1 lb brussels sprouts, trimmed and chopped in half
3 tbsp olive oil
1/2 tsp salt
1/4 tsp pepper
1 tbsp balsamic vinegar
2 tbsp agave nectar (or maple syrup)

What You'll Need to Do:
Preheat oven to 375°F.

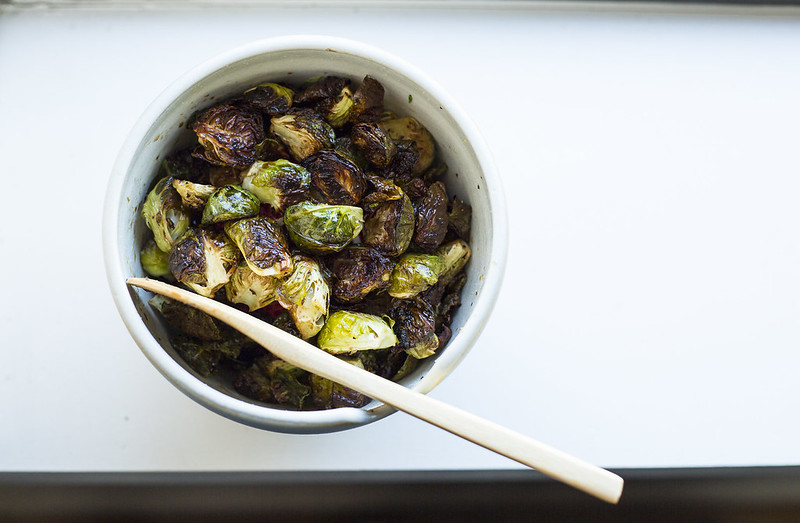
Place brussels sprouts in a large bowl, and add olive oil, salt and pepper. Cover a cookie sheet with parchment paper and spread out the brussels sprouts, then place in the preheated oven. After they have been roasting for 20 minutes, drizzle 1tbsp of the agave nectar (or maple syrup) on top and give them a little stir. Cook for another 20 minutes or so, until they are beginning to brown and getting a little crispy.

After removing from the oven, toss with the remaining agave nectar and add the balsamic vinegar.

Enjoy!

brussels

Tips and Tricks:
Don't like vinegar? No problem! The sprouts will also be tasty without. And don't be afraid to experiment with adding in a few of your favorite herbs or spices--I love adding a little rosemary or thyme as well.

Friday, May 24, 2013

Springtime Recipes

20130505_0339

What have I been up to lately? Still a whole lot of cooking...but somehow I've let nearly an entire month go by without a post! While I've been bursting with ideas over the last few weeks, I haven't had a chance to put any full posts together just yet.

In the meantime, here are some ideas for some great recipes you might consider trying. But keep your eyes peeled! I have some refreshing salad and smoothie recipes on the way very soon...

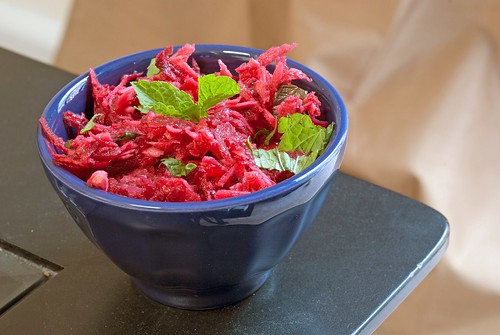
As always, I've enjoyed delving into Veganomicon for some great ideas. After making a beet and bulgur salad a while ago, I was ready to throw the last of my winter beets into something even lighter. I was intrigued by the shredded parsnip and beet salad with pineapple vinaigrette (pictured above). If those ingredients sound a bit crazy to you, I don't disagree, but I can say that this salad is sweet, tangy, crunchy, and absolutely delicious! I brought it to a dinner party, and it was quickly devoured.

Not too surprisingly, many of the other recipes that I followed over the last month or so can also be traced to Isa Chandra:
Untitled
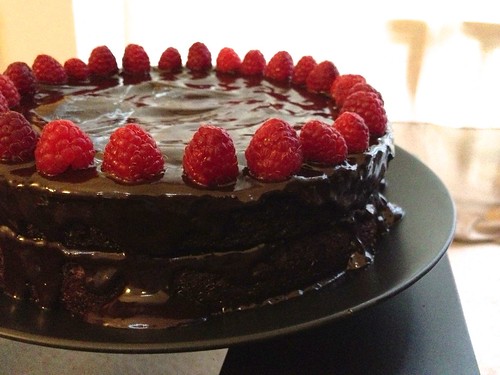
A delicious "Raspberry Blackout Cake with Ganache-y Frosting" (recipe from Vegan with a Vengeance)

Untitled
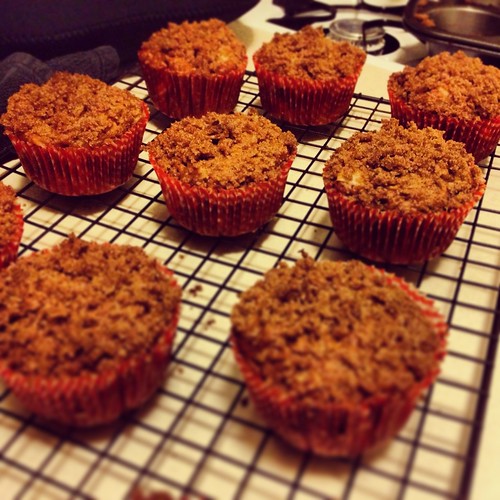
Apple Pie Crumb-Cake muffins (from Vegan with a Vengeance)

Untitled
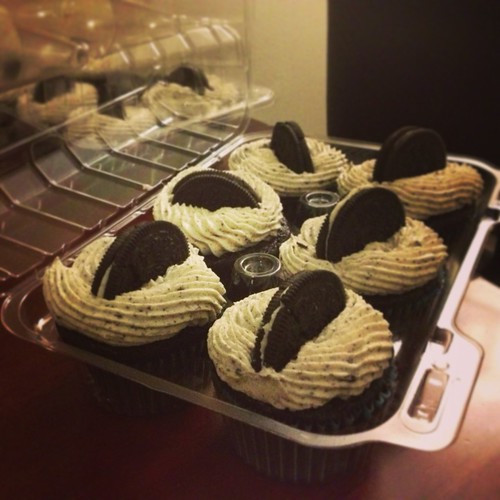
The Cookies 'n Cream cupcakes (again! they're one of my favorites from Vegan Cupcakes Take Over the World)

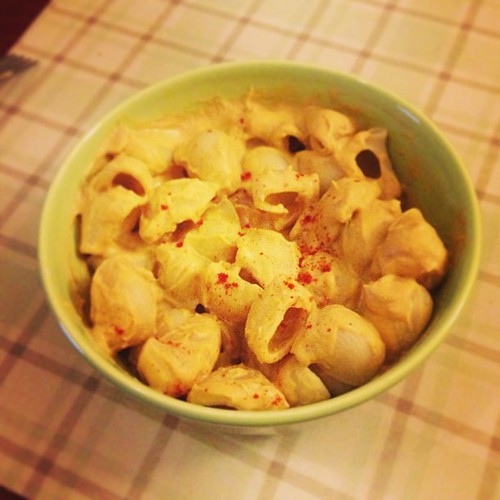
And I tried a recipe from PPK (follow the link for the recipe), for a sunflower-seed based Mac!
Sunflower seed mac

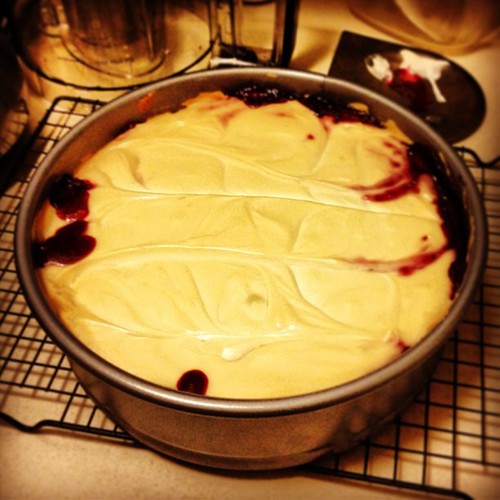
I also made a raspberry swirl vegan cheesecake (with my favorite vegan cheesecake recipe, courtesy of Sinfully Vegan)
Vegan raspberry swirl cheesecake ready for some more raspberry topping...

That's all for now...I know this post is a bit of a tease, but hopefully it gives you some fun (and tasty!) ideas. And as I said earlier, expect more of my own recipes coming very soon!

Sunday, April 28, 2013

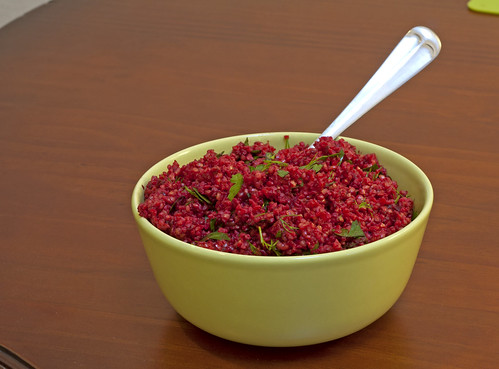
Beet & Bulgur Salad

I've been quite attuned to the New York Times "Dining & Wine" section for a variety of reasons lately, and one trend I've noticed is a lot of healthy (and tasty!) vegan recipes. I've been having a lot of fun trying some of them out.

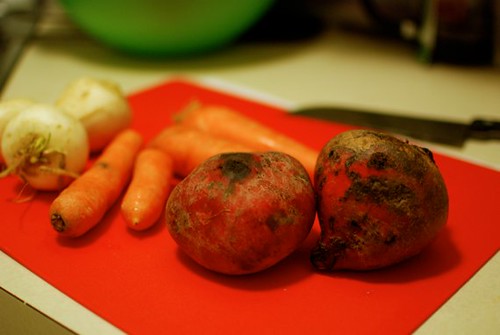
This recipe  for beet & bulgur salad was featured in an article by Melissa Clark in the Restaurant Takeaway section. The recipe is from Bill Telepan of Telepan Restaurant on the Upper West Side. It immediately caught my eye, particularly because I was looking for a way to incorporate the last of my winter CSA beets into a spring-appropriate dish.

Never heard of bulgur? It's a whole-wheat with a high nutritional value, often used in Middle Eastern cooking. Beet juice is used to infuse the bulgur, making for a truly bright and beautiful salad!

Beet & Bulgur Salad


Beet & Bulgur Salad
What You'll Need:
1/2 pound beets
1/3 cup plus 1 tablespoon extra-virgin olive oil
1/4 teaspoon coarse kosher salt (plus more, as needed)
Black pepper (as needed)
1 cup medium bulgur wheat*
1/4 cup red wine vinegar
1 1/2 teaspoons Dijon mustard
1/3 cup canola oil
3 tablespoons chopped dill
3 tablespoons chopped parsley


What You'll Need to Do:
Preheat the oven to 450 degrees. Place some foil under the beets and drizzle with 1 tablespoon oil, a couple of tablespoons water and a sprinkling of salt and pepper. Cover beets with foil, place in a baking pan and bake until tender when pierced with a knife (30 to 60 minutes, depending on how small or large they are). Allow the beets to cool, then peel and dice.

Place bulgur in a large bowl (or heat proof container).

Add the beets and two cups of water to a medium pot. Bring to a boil and simmer for 2 minutes. Strain the beets and reserve the liquid. Take 11/2 cups of the beet liquid and season with 1/4 teaspoon salt. Pour over the bulgur. Cover the bowl tightly with plastic wrap (or tight lid) and let sit until liquid is absorbed, about 1 hour.

Meanwhile, prepare your beet vinaigrette. In a small bowl, whisk together vinegar, mustard and a large pinch each salt and pepper. Whisk in remaining 1/3 cup olive oil and the canola oil; add more salt and pepper if needed. Add beets to a blender, and pour dressing over them. Pulse until the mixture forms a coarse purée.

Once bulgur has absorbed all of the beet liquid you had previously added (above), add half of the beet vinaigrette to the bulgur and toss well. If bulgur seems dry, add a little more dressing, to taste. Toss in parsley and dill and more salt and pepper if needed. Serve or refrigerate for up to 2 days.

winter root vegetables

My Thoughts
:
This dish makes more beet vinaigrette than you'll actually need to dress the bulgur.  You can add the remaining beet vinaigrette to salads or even spread a small amount as a bit of a beet relish onto a sandwich, if you're feeling adventurous.

Although I roasted the beets myself (and they were delicious!), you could buy pre-cooked beets if you are looking to save some time (just skip the first paragraph of the directions above).

I've been experimenting with lots of beet recipes this season. In the fall and winter, roasting is one of my go-tos. Before tackling this recipe, I tried a stellar recipe for beet burgers with lentils and brown rice, from the Post Punk Kitchen. My boyfriend was a bit hesitant, as he's not usually a fan of beet burgers, but he and our omnivorous dinner guest both devoured their burgers!

A final note:
*I used coarse bulgur wheat for this salad since my local supermarket did not have a "medium" grain. It worked great!

Tuesday, February 12, 2013

Teeny Tasty Party Bites

Looking for some food to serve at your next get together? Or something easy to make as a little snack?

Let's take a look at my Super Bowl line up for some ideas! These are all very basic recipes, basically on homage to game-day food...certainly not the healthiest meal I've ever put together. But if you're looking for some fast, easy, tasty things to throw together for a fun night, you might want to try some of these out!
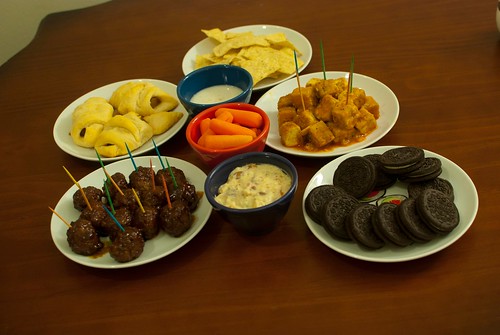
Super Bowl feast!!

The menu (from lower left, clockwise):
barbecue (apricot) meatballs
(veggie) pups in a blanket
tortilla chips
buffalo-style tofu
chocolate sandwich cookies

In the bowls (from front to back):
jalapeño queso dip
carrot sticks
vegan blue cheese dressing (for the tofu)

To break it down a bit more:
You can get my simple barbecue apricot meatball recipe here.

The pups in a blanket were just adapted from the good ol' Pillsbury crescent roll (yes, they're vegan!) carton, which suggests adding hot dogs and cheese and cooking at 350F (if using a dark, nonstick pan). Cut some veggie dogs in half along their length (so that they're thin), and then cut those slices so that they're about the length of the largest width of the crescent triangles. Place the veggie dogs on the shortest side of each triangle, and some cheddar cheese onto the roll (I recommend Daiya), if desired. Then just roll them up! Bake for 12-15 minutes, until golden brown. Serve warm.

The tortilla chips went great with the jalapeño queso dip, another recipe from VegNews (I used the Daiya cheddar cheese instead of mozarella). It was very good!

And...my favorite part of the evening was my buffalo-style tofu. SO good. You can get the recipe here.

The sandwich cookies speak for themselves, but I should say there is some debate over whether or not Oreos are vegan.* If you want to be safe, you can check out Newman-O's which are most definitely vegan. They're also a bit healthier, although I'll admit the taste is not quite the same as your classic Oreo.

*First of all, I should say that PETA lists these cookies as vegan. While none of the ingredients are animal-derived, it depends on how you feel about sugar processing. Most commercial sugars are filtered with activated carbon, which is often derived from animal bone char. This part of the process is so far removed from the final product that it is deemed kosher parve (meaning that according to Jewish dietary law, it contains no meat or dairy by-products). Many vegans, however, prefer to avoid any sugar that may have been processed with bone char. Vegan table sugars are available at some health food stores.    

Saturday, January 12, 2013

Fried Green Tomatoes

20121125_0035
This is yet another entry featuring a vegetable (or fruit, technically) from my CSA!

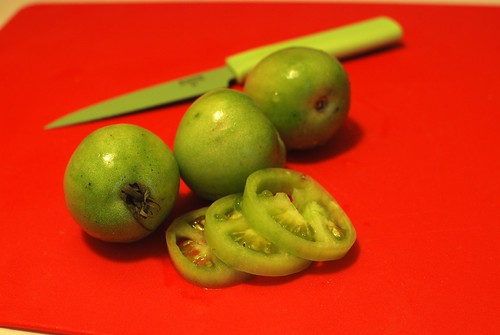
When confronted with these little green tomatoes, I was at a bit of a loss. My boyfriend (of course) instantly suggested "fried green tomatoes!" The suggestion definitely sounded like a good one. While living in Raleigh I'd had delicious fried green tomatoes several times, but had never tried making them myself!

I thought I remembered that one of my favorite vegan blogs, VeganYumYum had posted a recipe about this quite a while back...so I decided to tackle it!

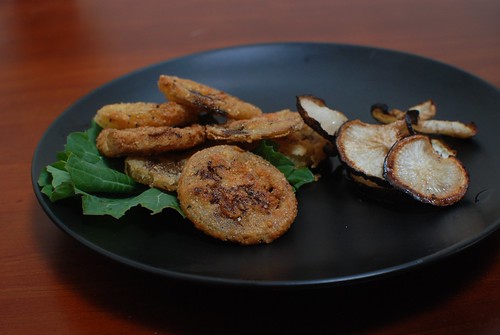
This recipe is an adaptation of the one on VeganYumYum (my version is pictured below, with a side of black radish chips).
20121125_0040

What You'll Need:
8 small (or 4 large) green tomatoes
peanut oil (or canola), for frying

Breading Mix
1 cup corn meal
1/4 cup all-purpose flour
1/2 tsp basil
1/4 tsp oregano
1 tsp garlic salt
1 1/2 tsp salt
cracked black pepper, to taste (approximately 1/8 tsp)

Batter Mix
2 tbsp Bob's Red Mill vegetarian egg replacer*
6 tbsp boiling water
1/2 cup almond milk (or soy)

What You'll Need to Do:
Core the green tomatoes and slice them into 1/2" slices. Pat dry with a paper towel.

Mix together the breading mix and set aside in a plate or shallow bowl.

Combine the boiling water and egg replacer in a small bowl or cup and whisk until thick and foamy. Add this mixture to a separate larger bowl, along with the milk, and continue whisking. You'll now have two separate bowls, one with your dry mix, and one with the wet.

Heat a heavy-bottomed skillet until hot (but not smoking!), with about 1/4" of oil in the bottom.

Place a tomato slice in the wet batter mix, and make sure its fully covered. Then place the slice in the bowl with the dry breading mix. Flip and press, several times if needed, to be sure the dry mixture is completely coating the slices.

Repeat these batter/breading steps with as many slices as you can fit in the pan at a time (I fried about four or five at a time), being sure not to overcrowd it (overcrowding will lower the heat, making for soggy fried tomatoes!). Fry on each side for about 4 minutes, until golden.

After frying, place on paper towels to help drain the oil.


My Tips & Tricks:
When shopping for green tomatoes, the general rule is, the larger the better (you want them to be about the same size as a regular tomato). In my case, however, I had the last pick at the CSA pickup, so we had mostly tiny tomatoes. I have to say, once they were fried I didn't mind--they sure were tasty!

I also made the balsamic reduction recommended on VeganYumYum.
roasted root vegetables and green salad

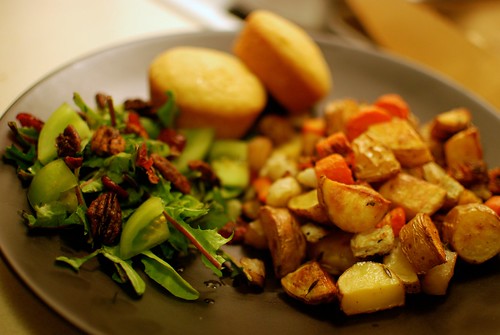
Aside from frying, you've got lots of other options with green tomatoes. They're nice and crunchy on their own, and they go pretty well in salads, relishes, etc. I threw them in with a little arugula, toasted walnuts, and dried cranberries (above, left). Tossed with a vinaigrette they were really good!

*egg replacer is an ingredient you'll commonly see in vegan baked goods. I think it tends to make things a little dry and chalky, so I try to avoid using it when possible, especially for moist baked goods. It does, however, provide good binding properties and sometimes (as in this recipe) taste is not an issue! Bob's Red Mill egg replacer is one of the more expensive brands on the market, but I prefer it over the less expensive, Ener-G egg replacer. With the amount of egg replacer I use (i.e. rarely an entire bag in a year) the improved taste is definitely worth the difference in cost.

Friday, January 11, 2013

Easy Roasted Sunchokes

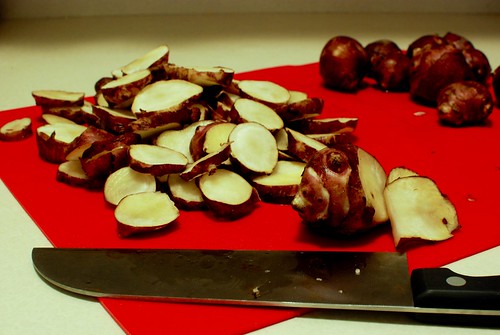
This is another recipe I made using some of our CSA vegetables: sunchokes!
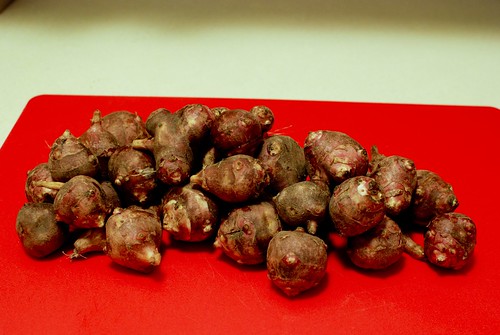
sunchokes

20121201_0027
I had never had a sunchoke before, and I have to say I was a bit skeptical. Sunchokes, also known as Jerusalem artichokes, are actually a part of the sunflower family! This knobby little tuber almost looks like a ginger root, but they taste like a cross between a delicious, buttery artichoke and a potato. In short, if you haven't tried them, I'd highly recommend them! If you're looking to buy them locally, they're apparently native to the Eastern United States (which may explain why I hadn't encountered them in California). The color on the skin can vary from brown to red, or even purple. Ours were red, which I've read have a more buttery, nutty flavor than those with light brown skins.

20121201_0036


What You'll Need
8-10 small sunchokes
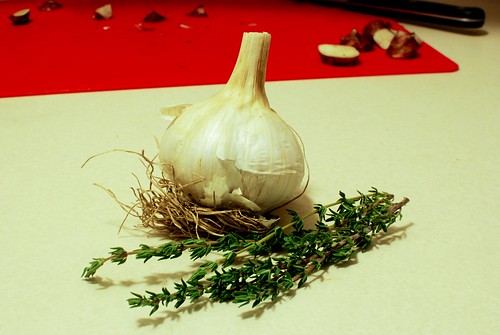
3 cloves of garlic, peeled and cut in half
1 tablespoon olive oil (plus more, as needed)
1/4 teaspoon salt
Leaves from 2 sprigs fresh thyme

What You'll Need to Do
Preheat the oven to 425°F.

Before slicing, you'll need to scrub the sunchokes under cold running water, since you'll be leaving the skin on. Slice the sunchokes about 1/4-inch thick. The exact thickness isn't important, but you want them to be as uniform as possible so that they'll cook evenly.

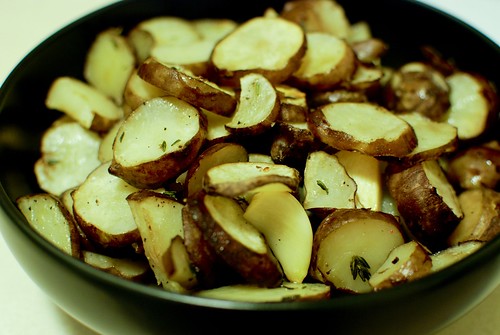
Add the sunchokes and garlic to a small bowl and toss with olive oil (add slightly more than 1 tbsp if needed, until pieces are lightly coated). Sprinkle in the salt and herbs, and toss to coat the sunchokes. Then transfer to a baking sheet or roasting pan. Bake for 20 to 25 minutes, until the sunchokes are tender inside, like a potato.

20121201_0031
Other tips and tricks:

For easy clean up, I like to line my pan with parchment paper.
You can also use dried herbs instead of fresh. When preparing these for the second time around, I used 1/4 teaspoon dried thyme and 1/2 teaspoon dried rosemary. I also mixed things up: using about half red sunchokes and half "brown." I thought they were equally delicious!

Tuesday, December 18, 2012

Roasted Fingerling Potatoes

fingerling potatoes

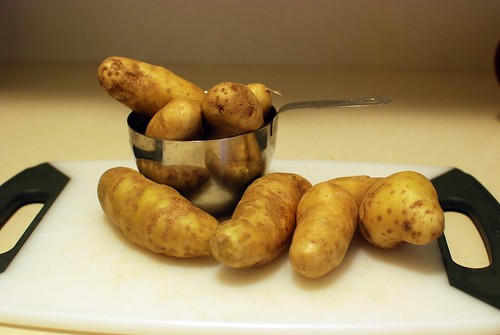
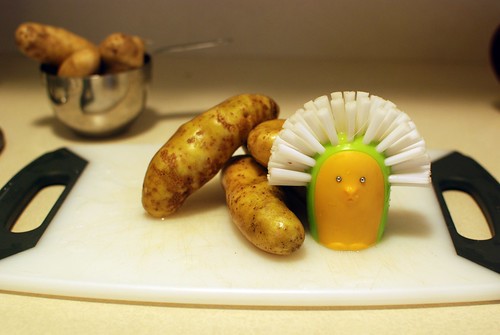
We had a lot of fingerling potatoes from our CSA...I'd roast 'em in a side dish, and then I'd look in the bag and it was like they had multiplied or something...I made them in a lot different iterations. I found that they didn't work well just thrown in with other potatoes and such, they're more dense and less starchy, so they need a bit more work to break them down and make them nice and tasty. When prepared properly, however, my boyfriend couldn't stop raving about them!


I've got two recipes to recommend here, but the first step in both is to take those lovely potatoes, run them under some cold water, and scrub, scrub, scrub!

fingerling potatoes
This first recipe is adapted from Emeril. I prepared these potatoes to go with a weekend brunch.

Pan Roasted Fingerling Potatoes

What You'll Need:
12 or so fingerling potatoes, washed and scrubbed clean!
2 tbsp olive oil
1 tsp (each), chopped fresh: rosemary, sage, and thyme
salt and freshly ground pepper, to taste

What You'll Need to Do:

Place the potatoes in a pot and cover with water. Raise to high heat and bring to a boil, cook until the potatoes are fork tender (a little less than 10 minutes). When done, throw them in a colander and cool them under cold running water. 

Once they are cool enough to handle (this may take a few minutes), place the potatoes on a cutting board and slice them in half lengthwise then sprinkle a little salt and pepper on 'em.


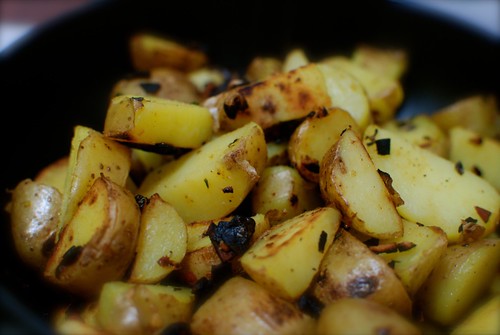
Heat a sauté pan (or frying pan) with olive oil over medium-high heat. Place the potatoes in the pan, cut side down, and cook them until they're browned and crispy, about 3 minutes. Turn them to the other side and add sage, rosemary and thyme. Cook for another three minutes or so, until they are brown and crispy like the other side. 


Remove from the heat, toss and season with additional salt and pepper, if needed.


roasted fingerling potatoes

Additional Thoughts:
These were delicious with a weekend brunch!

For a different twist on preparing fingerlings, I also tried roasting the potatoes in the oven
Oven Roasted Fingerling Potatoes
What You'll Need:
2 lbs fingerling potatoes, washed, scrubbed, and halved lengthwise
1 tsp chopped fresh rosemary
1 tsp chopped fresh sage
1 tsp chopped fresh thyme
1/2 tsp sea salt
1/2 tsp black pepper
1 small onion, thinly sliced
A few drizzles of olive oil

What You'll Need to Do:
Preheat the oven to 425°F. Combine everything in a bowl, tossing to coat. Line a baking pan with parchment paper (or aluminum foil) and put everything in there. Bake for approximately 30 minutes, or until potatoes are tender. Turn them after 15 minutes or so, so that they bake nice and evenly.

Additional Thoughts:
No picture for this one--but they were delish!

Don't feel wedded to the herbs, it would work just as well with an entire tablespoon of rosemary or thyme, or some other combination of these three.

Tuesday, December 11, 2012

Roasted Winter Root Vegetables


roasted root vegetables and green salad

If there was one thing we were not short on in our CSA share it was (not surprisingly) root vegetables! I've roasted my fair share of vegetables in the past, but this time I tried to come up with some new techniques that would bring out a variety of flavors. For that, I went to the internet!

Let's start out with the basics...my standard go-to recipe is adopted from Vegan with a Vengeance. I like to toss vegetables with fresh chopped rosemary, thyme, and sage, and a little bit of maple syrup and olive oil to keep them moist. You can also add a bit of ginger in there to spice things up a bit! If you chop your vegetables up into nice even chunks (about 1/2-3/4 inch each) you can throw them in the oven at about 350-400F. Toss them around a bit after about 20 minutes, and 45 minutes to an hour you'll have a nice tasty side dish! They're ready when they're fork tender (don't be afraid to try a bite to see if they're just right!). Perfect for Thanksgiving.


Keep in mind that different vegetables cook at slightly different speeds, so you'll want to chop up the slower cooking veggies (like carrots) a bit smaller. I find this recipe works well for things like sweet potatoes, regular potatoes, carrots, parsnips, turnips, beets, and squash. Things like sunchokes, black radishes, and fingerling potatoes, however, cook a bit differently. More on these "exotic" vegetables tomorrow...

Saturday, December 8, 2012

How do you make your green beans?

20121202_0293
A little while ago someone asked me how I prepared my green beans. I realized the real answer is...lots of different ways! 
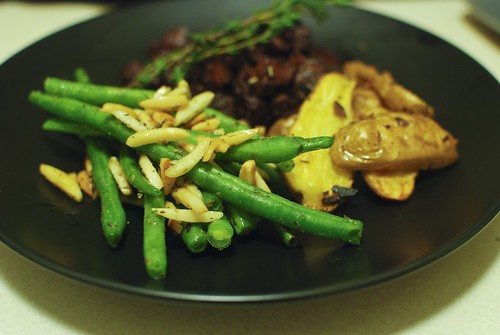
But here's one of my favorite variations. It's got some Italian spices, so it goes well with lots of other things. It's a quick and easy dish (garlic salt instead of regular garlic, it's easy to use the microwave instead of the stove top, etc.). I made it the other night when I was looking for something fast to go with my seitan and roasted fingerling potatoes.

Delicious Green Beans with Toasted Almonds

What You'll Need:
1 lb of green beans
about 1/4 cup of slivered almonds (you may want less, I like LOTS of almonds)
1/4 tsp dried oregano
1/4 tsp dried thyme
1/4 tsp dried rubbed sage
1/4 tsp garlic salt
salt and pepper, to taste

What You'll Need to Do:

Prepare the green beans however you normally would to get them tender. This can involve steaming in a pot, or even microwaving, if you're into that kind of thing. Meanwhile, prepare the almonds. 

Throw the almonds in a dry frying pan or sauté pan, and raise the heat to medium or medium-low. Keep moving them around and monitor them closely, being careful not to let the burn. When they become fragrant, they're almost ready, but let them go a little longer until they begin to turn golden brown. Then throw in about 1/2 of your spices and mix them around for a minute or so. Add your green beans, and drizzle with a little bit of oil. Mix them up really well and add the rest of the spice mix. If you want to add a few splashes of white cooking wine, go for it! Add some salt and pepper and adjust any of the seasoning to taste.


I hope you like it! Writing this entry has inspired me to share more green bean variations...hopefully more to come soon!

Friday, December 7, 2012

Cranberry Sauce, Bobby Flay style

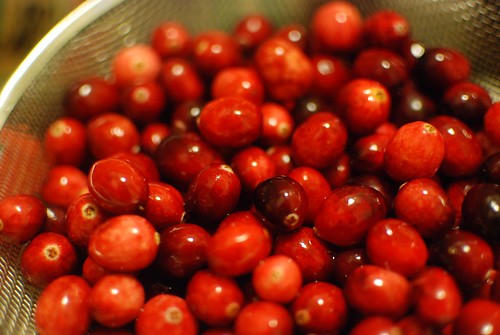
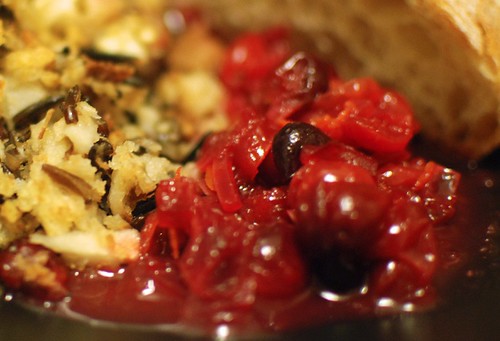
cranberries
So, here it is, as promised! A little entry on my most recent attempt at cranberry sauce.
After seeing Bobby Flay make a bourbon-infused cranberry relish on Iron Chef, I thought I'd give it a whirl myself. So I tracked down this recipe and got to work!

Cranberry-Bourbon Relish

What you'll need:
1-1/2 tbsp canola oil
1 small onion, finely diced
1 jalapeño or serrano, finely diced
2 cups fresh orange juice
1 cup bourbon
1/4 cup granulated sugar*
1/2 cup light brown sugar*
1 lb fresh cranberries (or frozen, thawed)
2 tsp grated fresh orange zest
salt and freshly ground pepper
1/4 cup chopped fresh flat leaf parsley or cilantro

What you'll need to do:

Heat the oil in a medium saucepan over medium-high heat. Add the onion and jalapeño and cook until soft, about 4 minutes. Add the orange juice and bourbon, bring to a boil and cook until reduced by half, about 5 minutes. Stir in the sugars and cook until completely dissolved. Add half of the cranberries and cook until they pop and are very soft, about 6 minutes. Add the remaining cranberries and orange zest and cook until slightly softened, about 3 minutes. Season with salt and pepper and fold in the herbs. Transfer to a bowl and serve at room temperature.

Tips and Tricks:

I like cranberry sauce and I like orange juice. I guess I just don't like orange-flavored cranberry sauce. 

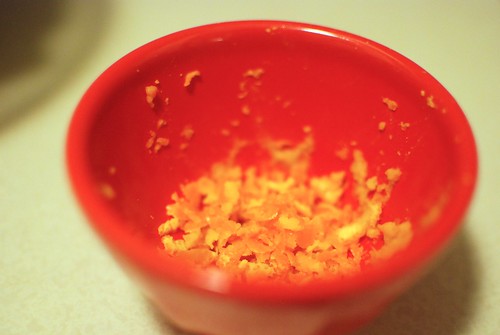
orange zest

I was a bit disappointed by this recipe, which was all the more difficult because it did take a bit of time, with all the zesting, etc. Perhaps I could have predicted it would have been a bit heavy on the orange if I'd just read it a bit more carefully. There were some things I liked, like the addition of the jalapeño.

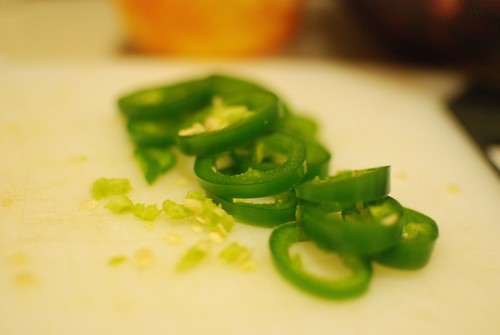
jalapeños


I know the recipe calls for either a jalapeño or a serrano chile, but I cannot imagine using a serrano, as they have much more heat, and I found that even the jalapeño walked the line of being a bit overwhelming. I bought a large pepper, and ended up using about three quarters of it. I removed most of the seeds and white areas as well, to cut down on the heat even more. The one issue with the pepper is that it infuses the dish more and more as time progresses so that after even two days in the refrigerator this dish was more or less inedible.

It wasn't a total loss though, I learned some things and look forward to experimenting some more with cranberry sauce recipes. And the bourbon was perfect for our apple cider... 
pre-Thanksgiving meal

*not all granulated sugar is strictly considered vegan, see my "Vegan Pantry" page for a further discussion of sugars