Showing posts with label dinner. Show all posts

Monday, October 9, 2017

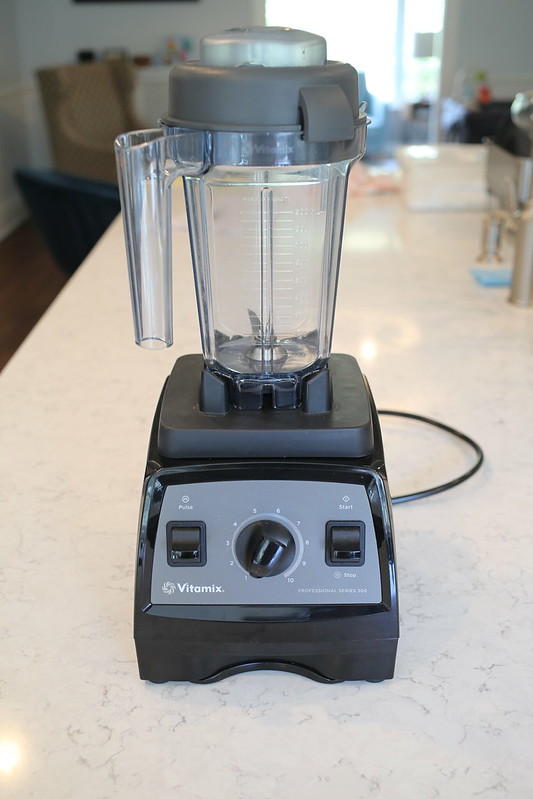
The Vitamix: My Kitchen Essential

Vitamix


What's my go-to kitchen gadget essential? Definitely my Vitamix! I was recently gifted this gorgeous blender--which is an update from the previous Vitamix model I had. It has an even more powerful motor (2.2HP!) that's somehow even quieter. Blends like a true dream. And even comes with a super large (64oz!) container (pictured below)--great for when you're making soups, family-size batches of anything, or whipping up large amounts of food for a little entertaining.
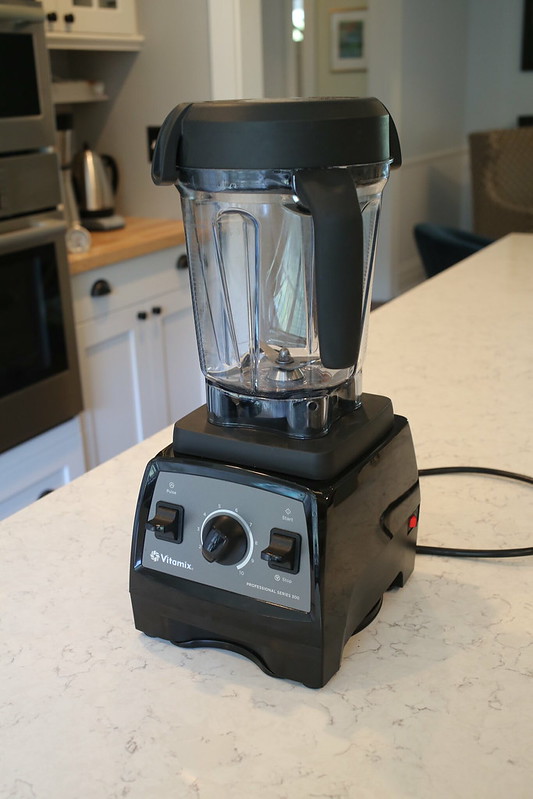

Vitamix 6

Of course, the first thing that comes to mind when you think blender is smoothie! And rightly so. It takes about 20 seconds to whip up a smoothie in the Vitamix. And when you're done, you just add a touch of soap and fill the container half way with hot water, blend for 60 seconds, and you've got a clean blender! Not bad at all. My frequent regular smoothies are a banana berry smoothie, and a peanut butter banana smoothie (with a touch of chocolate), but there are so many other delicious options (like green smoothies!).  And the Vitamix is also great for making frozen drinks and sorbets. The Vitamix comes with a fabulous recipe book with an impressive variety of ideas. So far everything I've tried has been delicious!
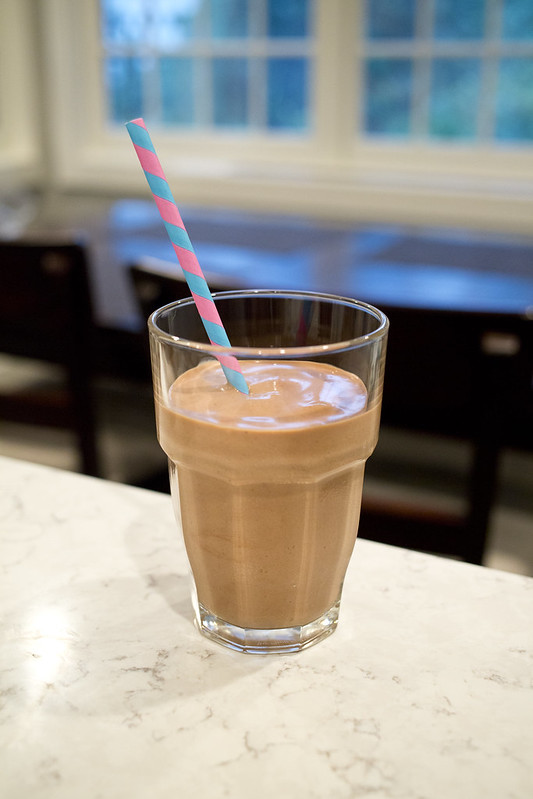
PB banana choco smoothie

In the winter time, the Vitamix gets pretty heavy use in our home for soups (follow the link for some of my recommendations)! Again, too many great options here to count. One of my all time favorites is butternut squash soup. The Vitamix allows you to vent steam as you blend, so you can make pretty much anything in here. And, if you blend for several minutes, it will actually create heat!
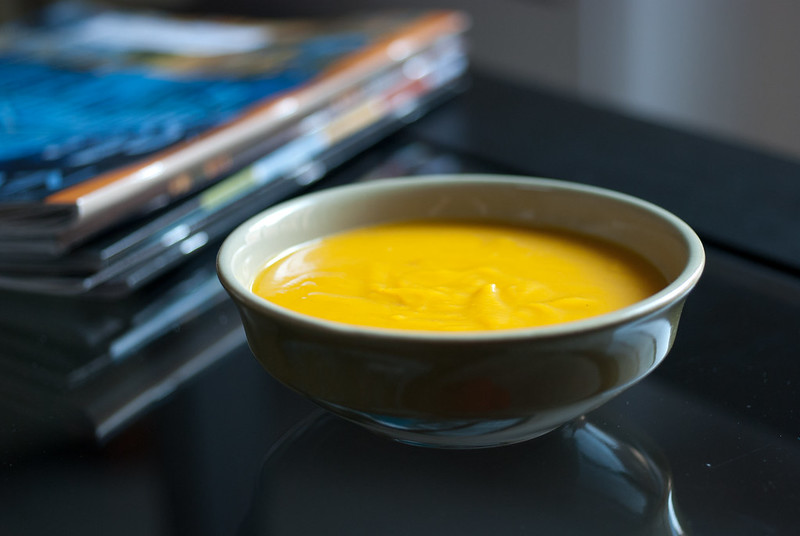
vegan butternut squash soup

The Vitamix is also a whiz with dips and spreads--pretty much anything you can think of, it can blend! If you're looking for some dip ideas--I love the curried carrot dip from Veganomicon, as well as the white bean aioli!
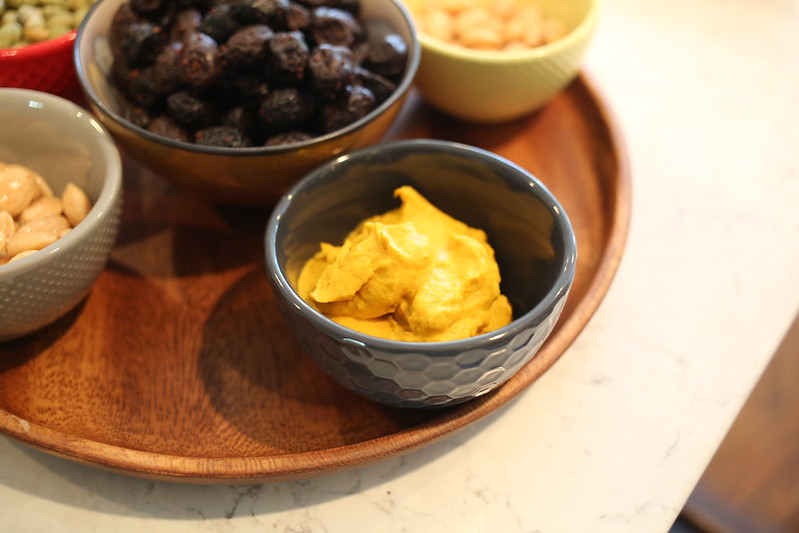

curried carrot dip

As far as dressings and sauces go this blender is great for any and everything you can imagine. If you're making nut-based pasta sauce, the Vitamix is a real life saver. Cashews are transformed into a smooth and creamy sauce in under sixty seconds. And you won't have to worry about anything chunky or gritty remaining when you're done blending. A high-powered blender is a real must if you're interested in making your own vegan cheese!
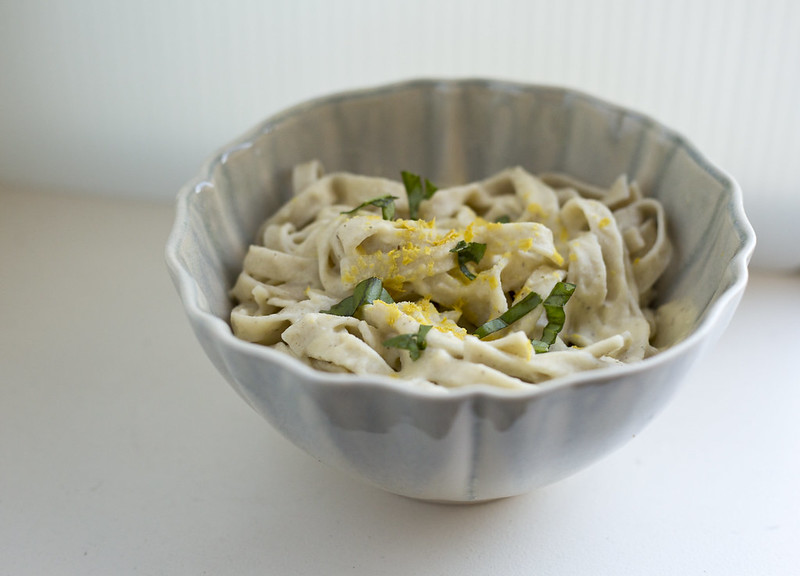
Untitled

Vitamix also states their blenders are great for mixing batters and doughs, making juices, nut butters, flours, baby food, and non-dairy milk. I've yet to try these out. I think I'll try my hand at making some almond milk next. Can't wait to give it a whirl--pun intended!

Friday, October 6, 2017

Vegan Cheeze-a-licious

20160709_BLTmacncheeze_0006


Today for the Vegan Month of Food we're talking all about vegan cheeze!

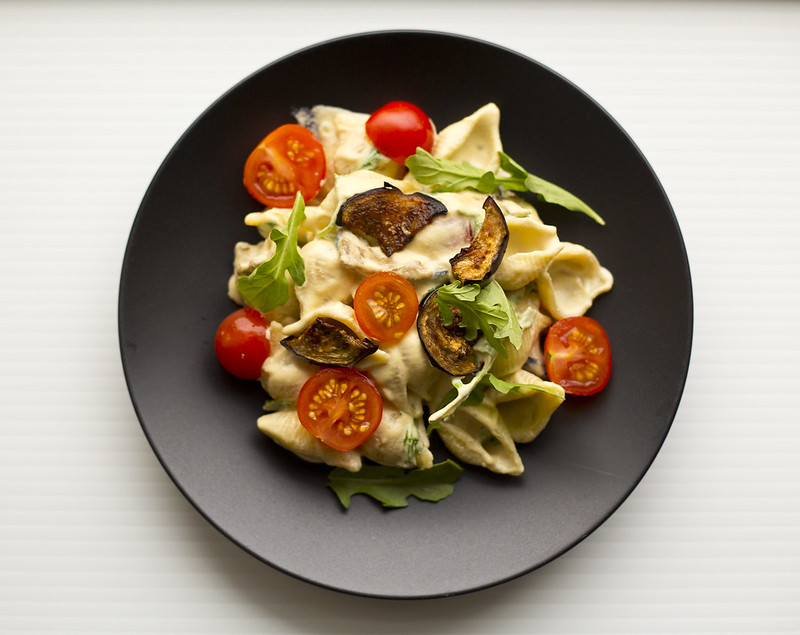
I wanted to go over some of my personal favorites, starting with the recipe above which is one of my go-tos for vegan mac and cheeze. The recipe comes from Isa Chandra, for her BLT mac and cheeze (complete with tomatoes and eggplant "bacon"). The sauce is cashew-based and creamy, and you'll have to work hard not to devour the eggplant before it gets added into the pasta!

Inspired by Isa's recipe, and a smoky mac I had at an NYC restaurant, I developed a smoky mac and cheeze that I also love, which involves a little liquid smoke for a flavor kick.

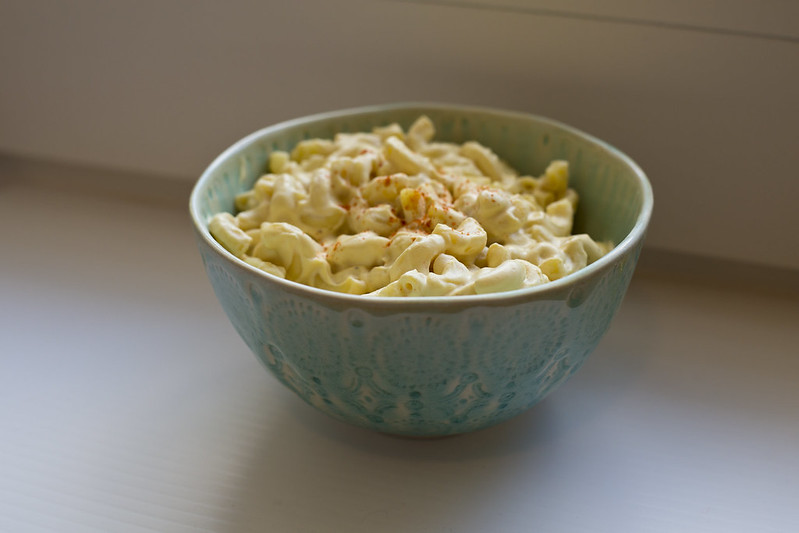
smokey mac

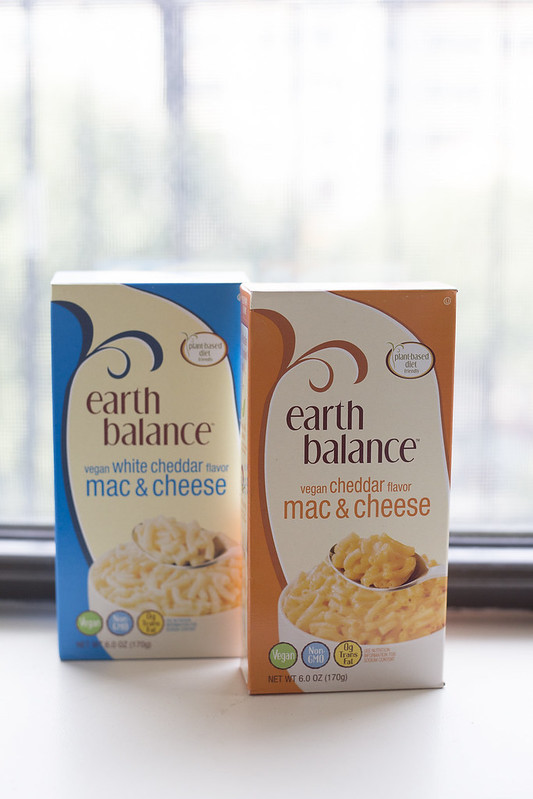
Don't have the time (or the blending power) to make your own cashew-based macaroni and cheese? How about trying out the instant mac and cheeze from Earth Balance. It's sort of like the Kraft mac 'n cheese of the vegan world--although I think it's even better!

Untitled

You can often find these at Whole Foods, or from online retailers like Thrive Market.

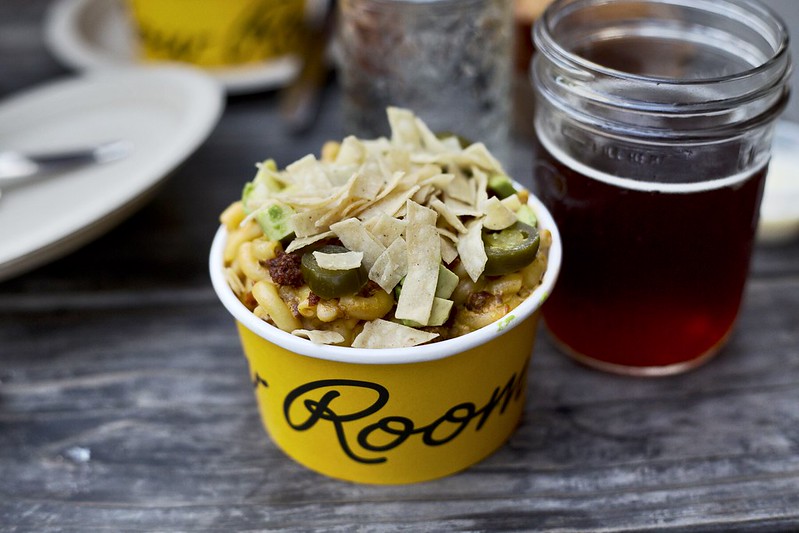
If you're looking to have someone else make the mac, and you're in the New York area, I recommend going to Morgan's in Brooklyn. They have a delicious vegan mac with avocado, veggie chorizo and jalapeños!

20150923_LVE_0007

Looking for vegan cheeze you can order online? Miyoko's Kitchen has some super amazing cashew-based options that are the best I've ever had (they also have a mac and cheeze sauce!).

Untitled

For the ambitious home cook, Miyoko also has an amazing cookbook (Artisan Vegan Cheese) with recipes for cheeses you can make at home. Many involve creating your own culture (which is a lot of work, but very rewarding!).

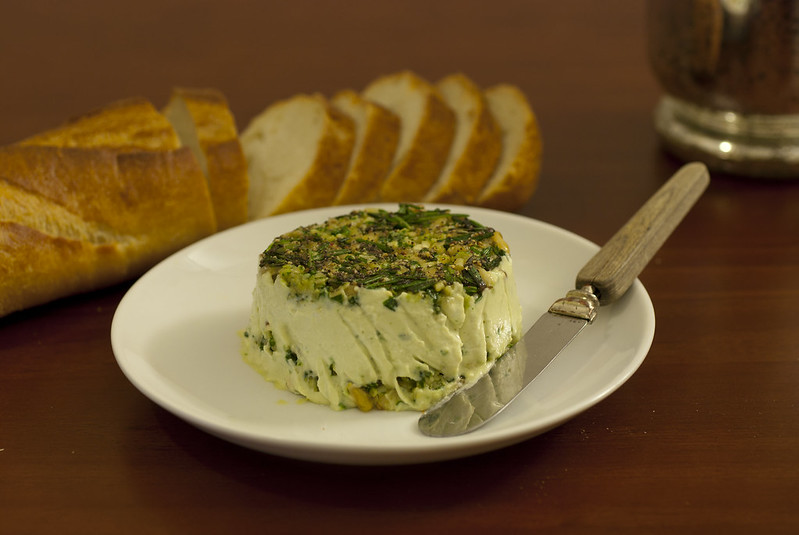
For a simple cheese you can create in an afternoon, one of my favorites is this "goat cheese" from the Fork and Beans blog.

"Green" Cashew Cheese Spread

If that sounds like too much work and you're in the New York area, there are some great vegan pizza options!

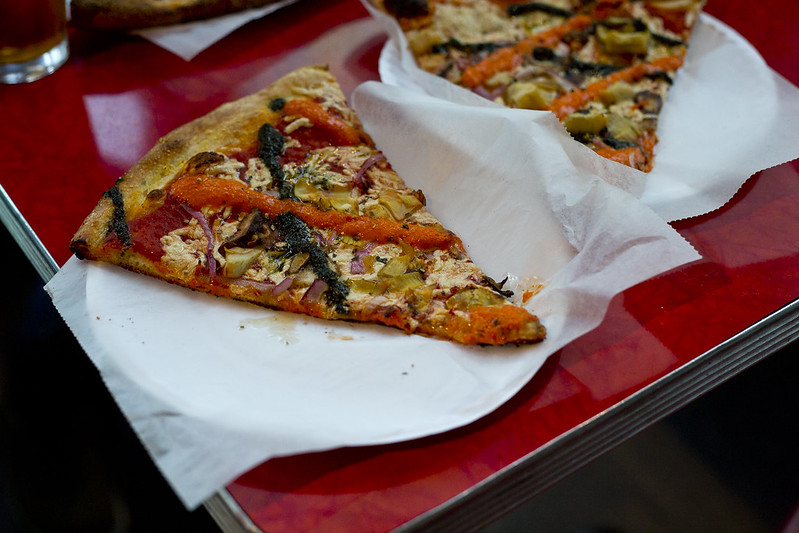
I love Two Boots' V is for Vegan pizza--you can read more about it here.

Untitled

What are your favorite vegan cheezes? I hope you have a chance to try one of these! I'm getting hungry just looking at them!

Sunday, October 1, 2017

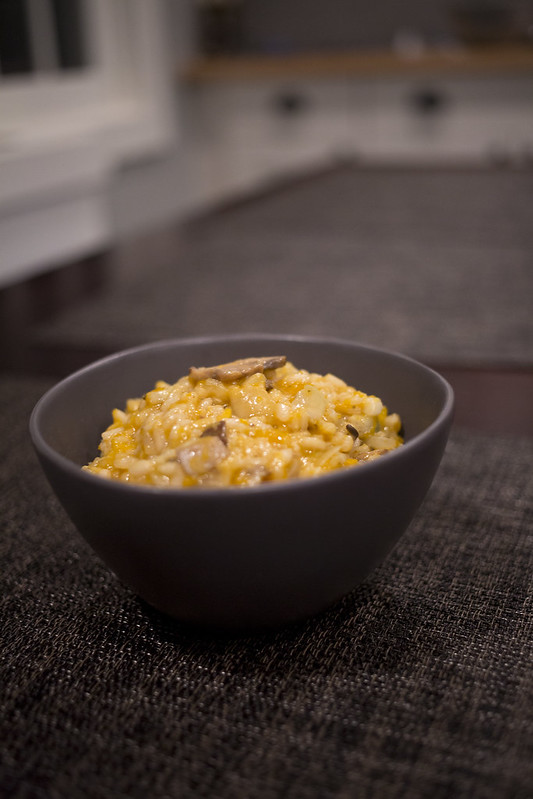
Risotto (i.e. Vegan MoFo, Day 1)

20170927_veganeats_0025


It's Vegan MoFo! After a hiatus last year, I'm back in full swing, looking forward to sharing some recipes--new and old--with you all.

Today we're talking about giving a standard veggie option--like a risotto--a little makeover. My friend Sarah (who has her own cooking blog) made an amazing risotto for us a few months back that I haven't been able to stop thinking about. Her version included sautéed mushrooms, asparagus, and green peas. When I asked her for the recipe, she mentioned that for fall a little roasted butternut squash is the perfect addition. Which got my wheels turning...

A few weeks ago, my stepmom (who also happens to be a fantastic cook) made us a delicious pasta which had--you guessed it!--roasted squash. As well as artichoke hearts. Delicious! So I thought I'd spice things up a bit with those additions, as well as the mushrooms. 

20170927_veganeats_0039

I'd actually never made risotto before. It was one of those recipes that I figured was too time consuming and difficult to tackle--but after Sarah's risotto, I realized it would be well worth it. 

And? I discovered it's actually not as hard as you may think! You've just got to be ready to stir--for about 20 minutes straight. So the real trick is to just have everything entirely prepped before you get going.

20170927_veganeats_0003


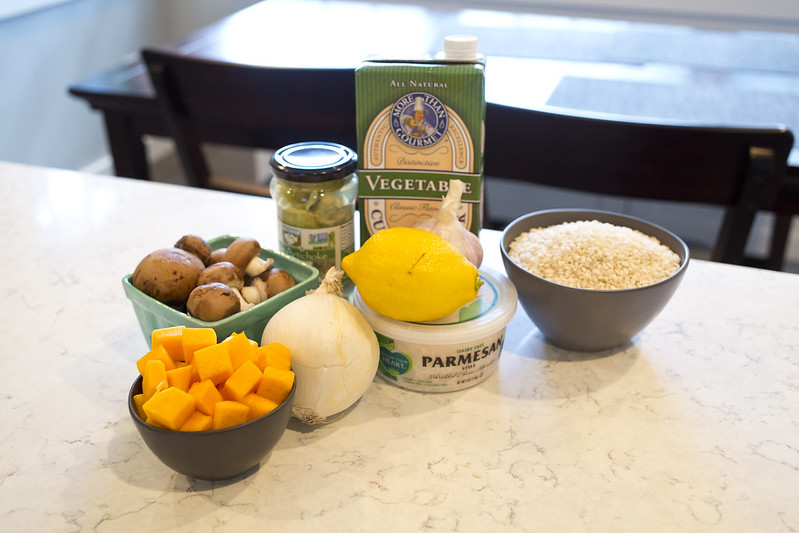
What You'll Need:
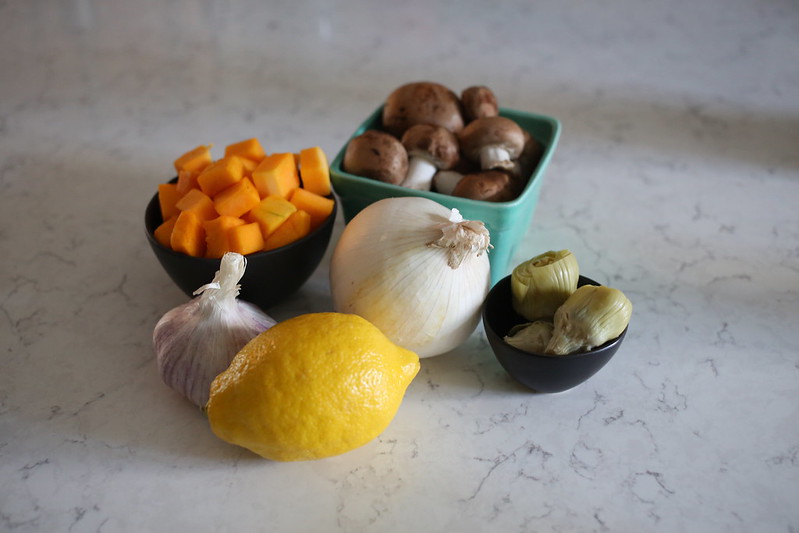
Artichoke hearts (jarred or canned), chopped into 1/2-inch pieces
8 oz mushrooms (whatever type you like, such as cremini, I used Baby bellas)
Approximately one butternut squash, cut into 1/2-inch cubes
Zest from 1/2 lemon 
1 small onion, diced
4 cloves garlic, minced
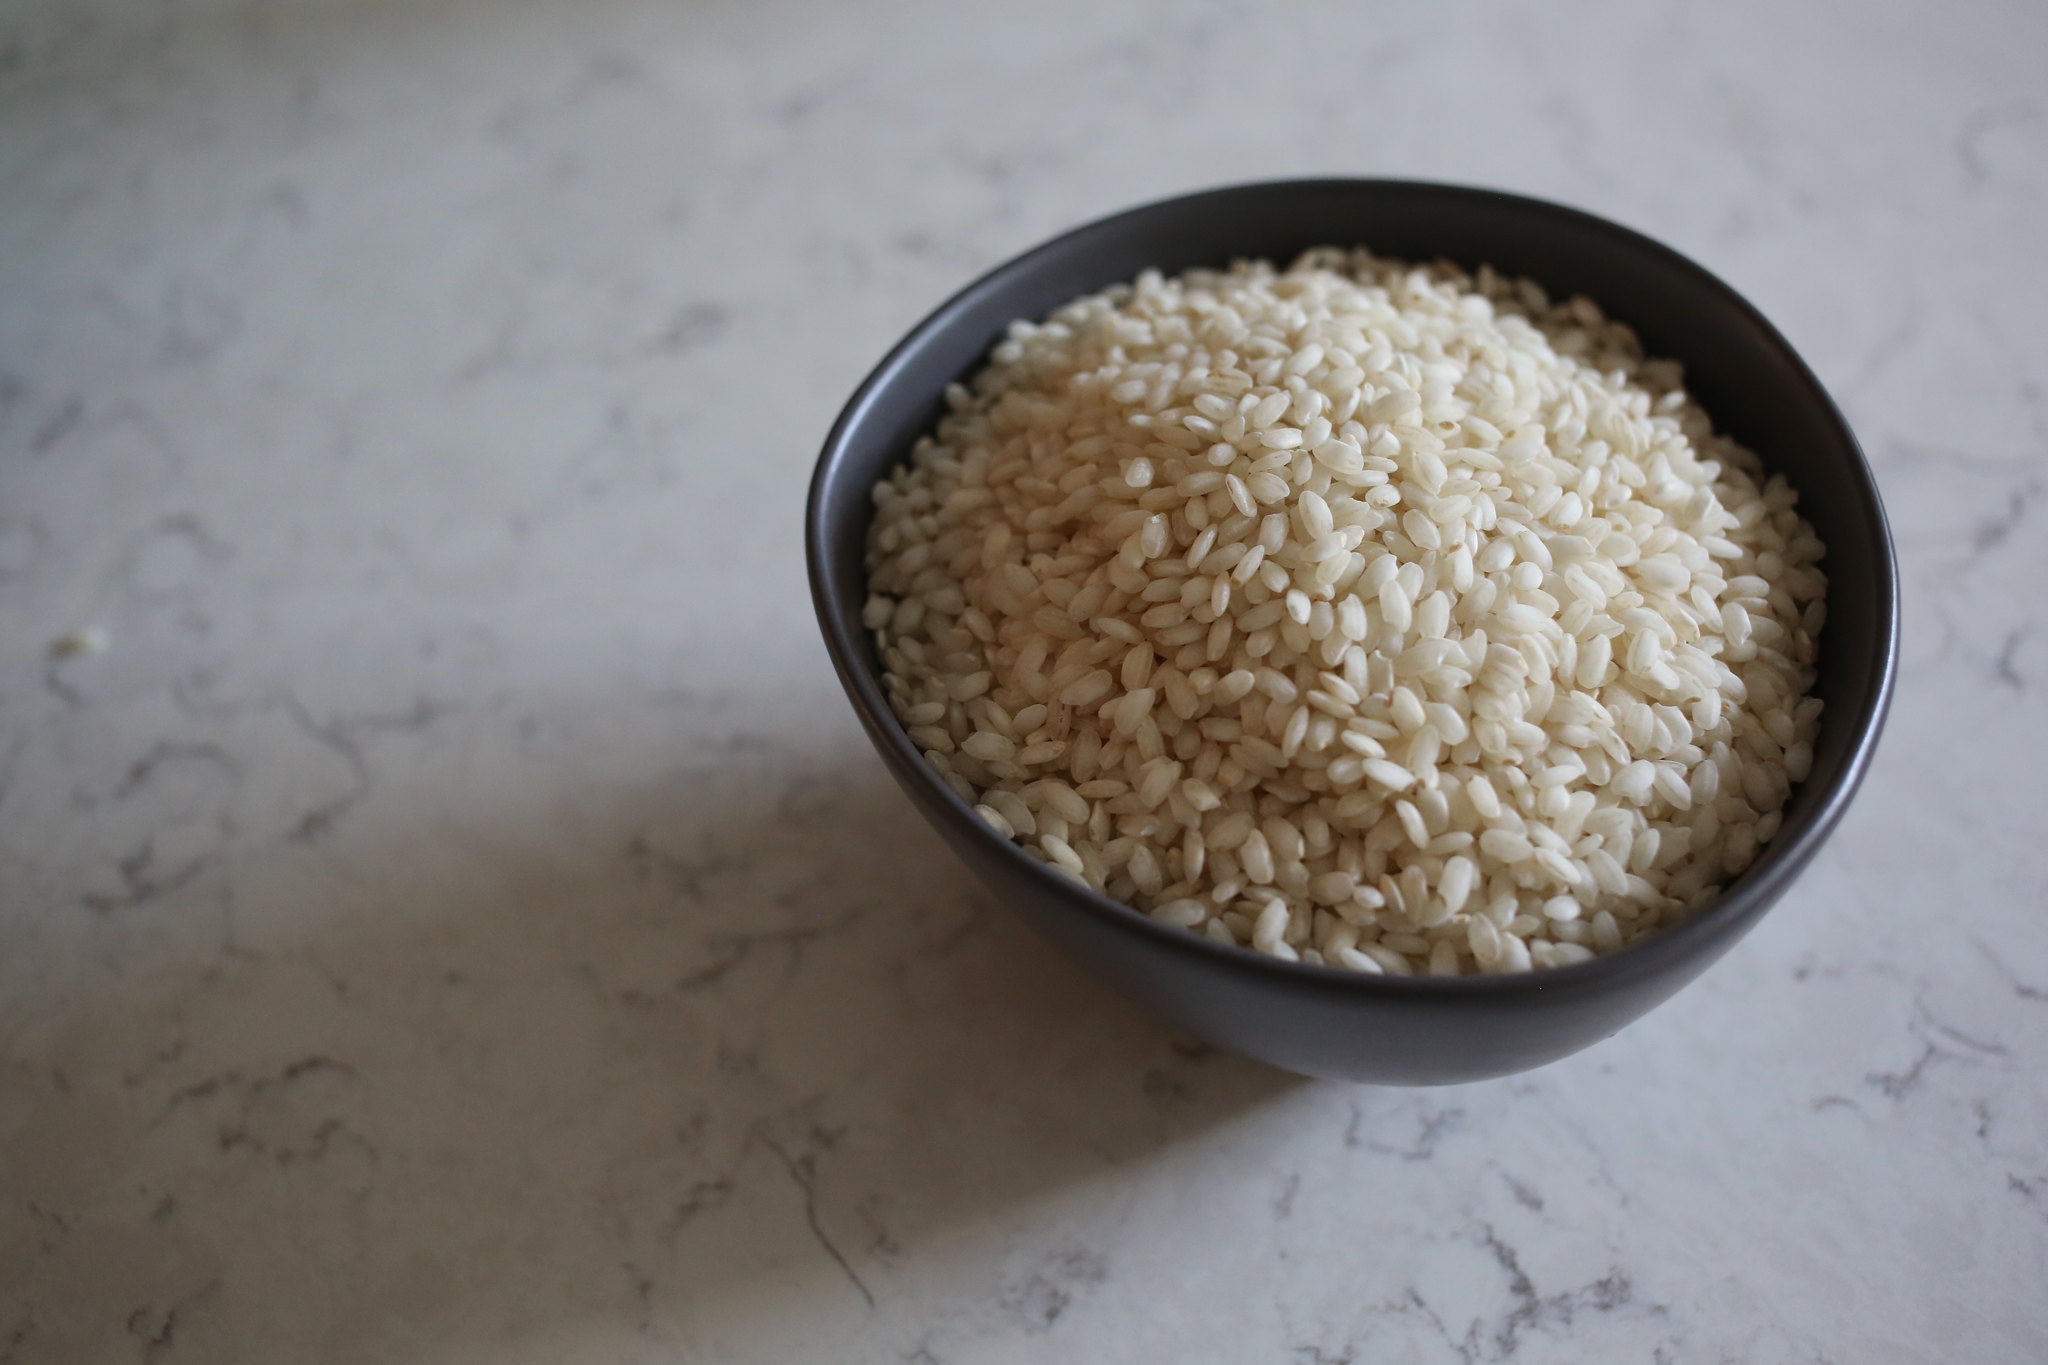
1 1/2 cups arborio rice
1/3 cup white wine
6-8 cups vegetable stock
1-2 tablespoons butter
1 cup Vegan Parmesan cheese (optional)

What You'll Need to Do:
Preheat oven to 425F. Get that squash roasting. Toss with 2 tbsp olive oil and approximately half the garlic (two cloves), then spread on a sheet pan (I like to cover my pan with baking parchment for no-mess cleanup later). Roast for approximately 20 minutes--you want the squash to be slightly chewy and tender but not mushy.

Meanwhile, sauté the mushrooms in olive oil until they've released their moisture (about 5-7 minutes). Season with salt and pepper, then add in artichoke hearts and butternut squash and mix to combine.

Okay! Ready? You're going to take your onion and saute it in the margarine until soft and translucent. Then add 1.5 cups risotto, and stir to roast rice for about 2 min (until the ends of the rice grains become translucent). Then deglaze your pan with 1/3 cup white wine.

Slowly add about 6-8 cups of hot broth, 1 cup at a time, stirring constantly. You want to use enough liquid to just cook the rice and get it to a nice consistency, without being too thinned out or runny. You can begin tasting after about 12 minutes or so--it should be done after closer to 20 (up to 30). Once you've got that nice, rich risotto texture, add the veggies, then stir in your Parmesan, if using. Finally, finish off with zest, and serve immediately!

20170927_veganeats_0069_1

Tuesday, May 24, 2016

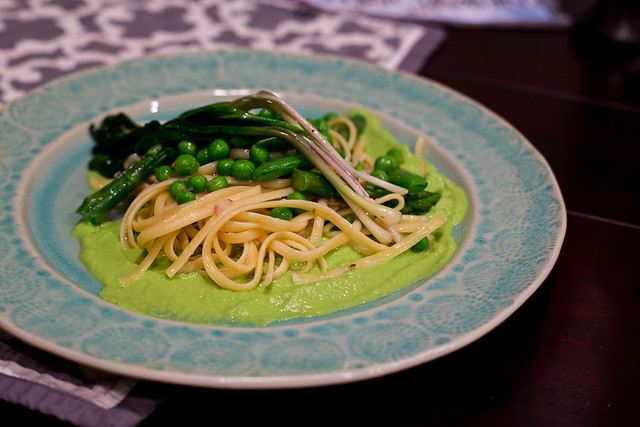
Fresh Spring Pasta with Ramps, Peas & Asparagus

rampspringpasta


I've been waxing poetic about spring lately. (love those ramps!) This recipe has lots of great spring veggies, and is based on a salad recipe I found while trying to come up with some more creative ways to use my ramps. I added some pasta because I'm a sucker for a good pasta dish, but see tips and tricks below for more ideas. You've heard enough about spring veggies from me the last few weeks, so let's get right to the recipe!


Spring Pasta with Ramps, Peas & Asparagus dressed with lemon vinaigrette
What You'll Need:

1 16 oz. package pasta (such as fettuccine)
Vinaigrette: 
3 tbsp extra-virgin olive oil
Juice from 1 lemon (~2 tbsp)
2 tsp grated lemon zest
1 tbsp minced shallot (approx. 1 small)
2 tbsp vinegar (white balsamic, apple cider, or just plain white)
Salt and pepper to taste

Veggies:
10 oz. defrosted frozen peas
2 cups fresh snap peas, ends trimmed, cut in half
1 pound asparagus, stalks trimmed, tips removed and separated
2-3 tbsp olive oil

~12 whole ramps, cleaned, ends trimmed

Combine dressing ingredients in small bowl. Whisk together and set aside.

Bring a large pot of lightly salted water to boil. While water is heating up, prepare an ice bath. Boil defrosted peas in the water until bright green (about a minute). Transfer to ice bath with a strainer, then add your snap peas to your boiling water and cook for about 2 minutes until also bright green and slightly tender, then transfer these to your ice bath with the strainer. Finally, add your asparagus tips (not the stalks) to the water, and boil until just tender (another minute or so), before also transferring to your ice bath with the strainer. Now remove all the veggies from the ice water and transfer them to some towels to dry.

Boil a separate pot of water to prepare your pasta according to package directions. Once the pasta is al dente, drain, and mix in the "dressing" ingredients. When your vegetables are relatively dry you can mix them in.

Now for your asparagus puree. Transfer the stalks to the blanching water and boil them until they're very tender, just a couple of minutes. Transfer to a blender and add 2 tbsp of olive oil. Blend until smooth, adding a bit of blanching water if needed. Season with salt and pepper to taste then set aside to cool a bit.

Finally, prepare your ramps. Heat some oil in a large skillet over medium-high heat. Add your ramps once hot and sauté until lightly browned in some areas and the leafy green part is beginning to soften. Season with salt and pepper to taste.

Spoon asparagus puree onto bowls or plates. Place pasta with veggies on top, and finally top with ramps!

Tips & Tricks:
Looking to cut down on the carbs? Want to make this gluten-free sans the gluten-free pasta? The original recipe I based this on was a salad, which is equally delicious. Substitute some micro greens or arugula for the pasta, and you're good to go!

Sunday, May 22, 2016

Sautéed Fiddlehead Fern Pasta

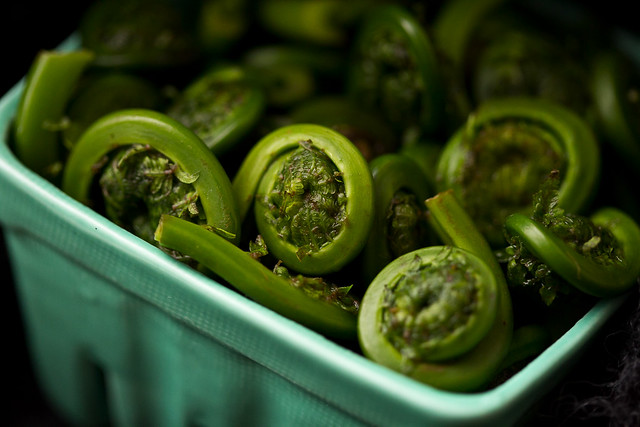
fiddleheadferns12


Spring! It's such a wonderful time to take advantage of fresh produce. And as I said in my post a few weeks back, I have been doing just that.

This recipe features some wonderful local produce from Farmigo, but you should be able to find these ingredients in the early spring at a farmer's market or anywhere else selling local produce on the East Coast (the west has its own western fiddlehead fern, known as a lady fern).

fiddleheadferns13

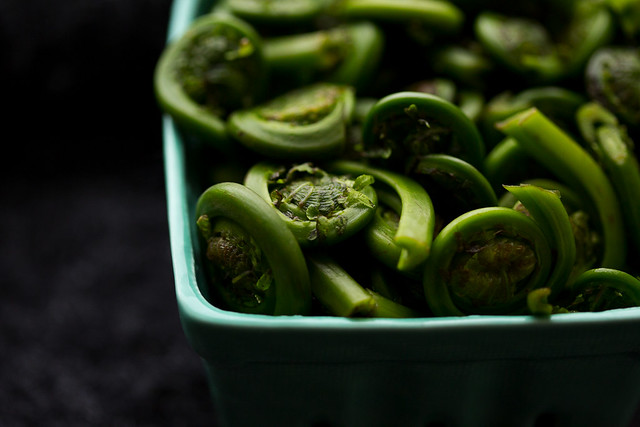
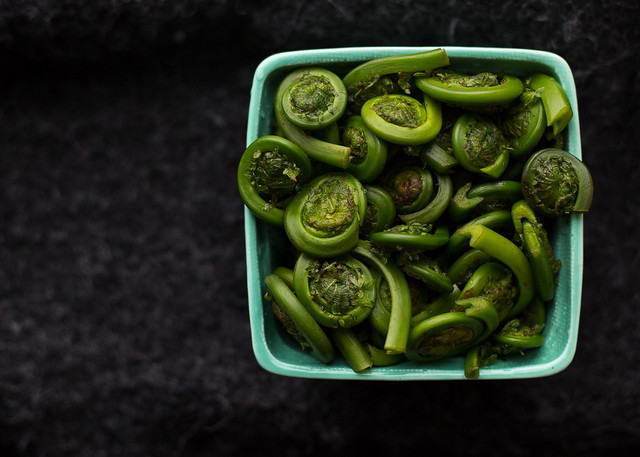
Despite being quite intrigued, I'd never tried fiddlehead ferns before making this recipe. Frankly, they certainly look a bit strange and I wasn't quite sure how I would feel about them! Turns out they're delicious...essentially the texture of a delicate asparagus but with a richer flavor (almost nutty) that needs to be tasted to be fully appreciated.

fiddleheadferns4

Since I had never cooked with fiddlehead ferns before, I did some reading.  I checked out a few sites. GRACE Communications Foundation had a very thorough description of the history of their use, cultivation, characteristics, and how to prepare them.

There are mixed opinions on the health effects of eating ferns (see link above for more info), so it is best to eat them in moderation. It is also recommended to boil or steam them for 10 minutes before preparing. I was worried this might effect the flavor, but it did not! They were excellent. The site I used gave excellent instructions for cleaning and boiling, which I've included in the recipe below. said they paired well with ramps, so I incorporated both into my recipe. They compliment each other beautifully.

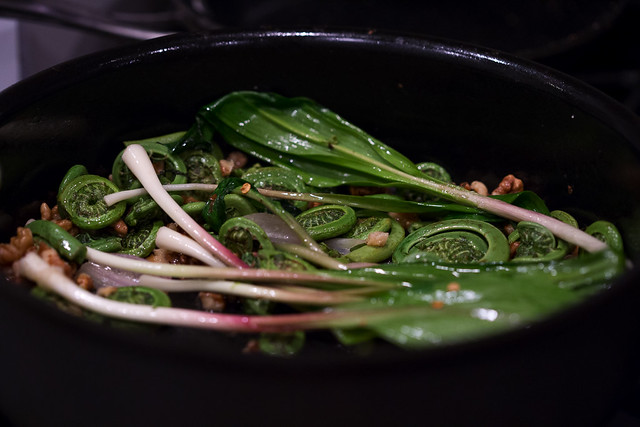
RampnFern2

You essentially just sautée everything together, add your favorite pasta, a little splash of vinegar and lemon, and you're good to go!

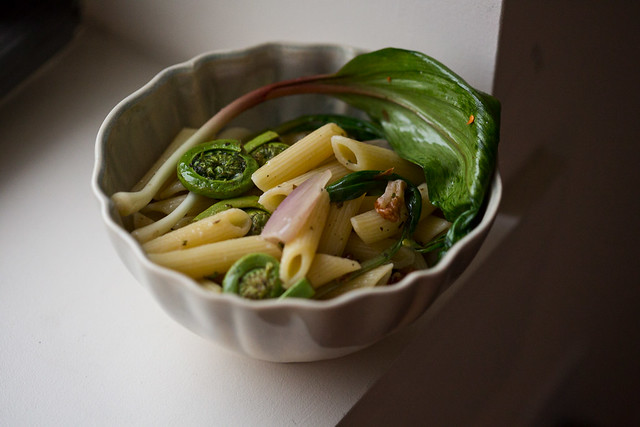
RampnFernpasta

Sautéed Fiddlehead Fern Pasta with Shallots, Ramps and Toasted Walnuts
What You'll Need:
8 oz. fiddlehead ferns, cleaned
1 small shallot, roughly chopped
3 tbsp olive oil (divided)
1/4 tsp red pepper flakes (or more, to taste)
1 bunch ramps, cleaned and trimmed
Salt and pepper to taste
1/2 tsp dried basil (plus a pinch)
1 tbsp white wine (optional)
1/4 c. toasted walnuts

1 16 oz. package pasta
1 tbsp white wine vinegar*
Juice of 1/2 lemon

What You'll Need to Do:
Clean your ferns. Fill a bowl with cold water, then gently add your fiddlehead ferns and swish them around. This should remove all of the brown, paper bits that can cling to them (which are just a part of the fern), and any dirt that may be hidden inside those tiny coils.

Prepare a bowl of ice water. Bring two pots of lightly salted water to boil. Boil pasta until just al dente in one pot, then drain, reserving 1/4 cup of the pasta water and returning to the pot. Boil fiddlehead ferns for 10 minutes in another. Transfer the fiddlehead ferns to the ice water after 10 minutes, to stop the cooking. Then drain well and pat thoroughly dry.

Heat 1 tbsp olive oil in a large sauté pan over medium-high heat, adding shallots once warm. After a minute or so, when the shallots are fragrant and just beginning to soften, add in the fiddlehead ferns. Sautée for a minute and then add in your ramps, along with red pepper flakes and/or black pepper and a pinch of dried basil. Throw in a splash (about 1 tbsp) of white wine to steam your ramps. Add your walnuts, toss and remove from heat.

Stir in 1 tbsp white vinegar, 2 tbsp olive oil, 1/2 tsp dried basil, and a pinch of salt and pepper to your pasta. Taste and adjust seasonings as desired. Add pasta to your sauté pan and return to medium heat, tossing the pasta with the vegetables to allow the flavors to really soak in for a minute or two. Turn off the heat, and add lemon juice (1-2 tbsp), to taste.

Enjoy!

Tips and Tricks
So many parts of this recipe are interchangeable. No ramps? Try some spring onions, or just another shallot. No ferns? No problem there either. Ramps will pair great with this pasta, as will spring onions. The combinations are endless!

*similarly, don't feel too tied to white wine vinegar, red wine, balsamic, or even apple cider will do in a pinch!

Thursday, May 5, 2016

Cauliflower Piccata

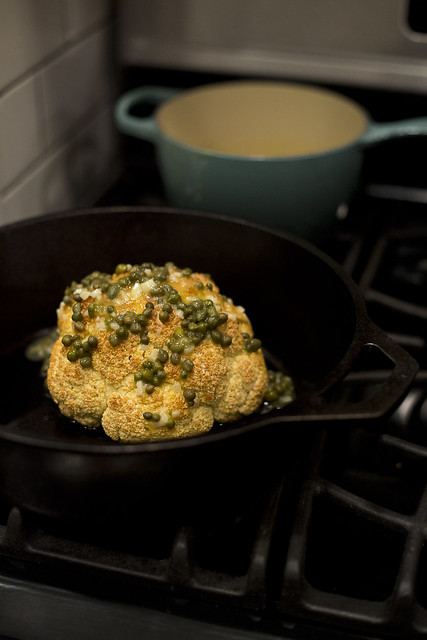
Cauliflowerpiccata_01

I've been markedly absent from the blog-o-sphere lately, with a myriad of things going on in my personal and professional life. But I've been getting back in the kitchen lately and photographing away! So bare with me while I attempt to catch up on my backlog.

Let's start first with something that became a real instant favorite of mine over the winter. Cauliflower piccata! While this may not exactly be a spring recipe, it's perfect for these last few cool weeks as we get ready to make the full transition into summer.

I've long been a fan of seitan piccata, and before that I was eating lots of broccoli piccata, following the recipe from Vegan Lunchbox (a vegan cookbook staple in my household in 2008).

This cauliflower recipe is undeniably inspired by that, as well as a recent recipe I found in the New York Times for whole roasted cauliflower. Simply combine the two, et voilà! Instant classic. My husband absolutely loves this dish, as do I. It's also been whole-heartedly embraced by my non-veg friends and family.

The Times recipe calls for an almond-herb recipe. Sounds delicious. Also sounds like a lot of work. The piccata sauce, on the other hand, literally takes just a few minutes to whisk up. The long part of this recipe is just letting the cauliflower sit in the oven, so keep that in mind when preparing.

Cauliflowerpiccata_02

Roasted Cauliflower Piccata
What You'll Need:
1 large cauliflower
4 tbsp olive oil
2 tbsp freshly squeezed lemon juice
4 tbsp capers
2 tsp flour*
4 tbsp vegetable Broth (water will do, in a pinch)
1 large or 2 small garlic cloves, minced

What You'll Need to Do:
Place a small pan of hot water on the bottom rack of your oven, to create steam (save the top for the cauliflower). Preheat your oven to 375°F.

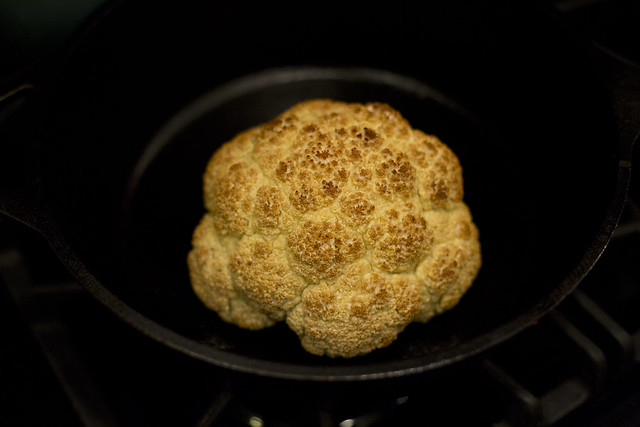
Rinse that cauliflower. Cut off the base of the cauliflower and the leaves. Then cut out the hard core of the cauliflower, taking your knife at an angle, and cutting into the thick stalk of the cauliflower, in a circle, being sure to leave the main stem and all of the florets intact. Once you've gone all the way around, the stalk and the leaves should come away from the rest of the cauliflower easily. Don't cut too deep, you want the cauliflower to stay together!

Once you have the cauliflower trimmed, place it on the cutting board (core side down) and drizzle with 1 tbsp olive oil. Rub the oil in with your hands so that it gets well distributed on the surface and then sprinkle with salt.

Once the oven is heated, place the cauliflower in a heavy baking dish or oven-proof pan (again, core side down) and let it cook for an hour and a half to two hours, until it's nicely golden or browned to your liking. Sprinkle another tablespoon of olive oil on about half way through.

When you're about ready to take the cauliflower out, make your sauce.

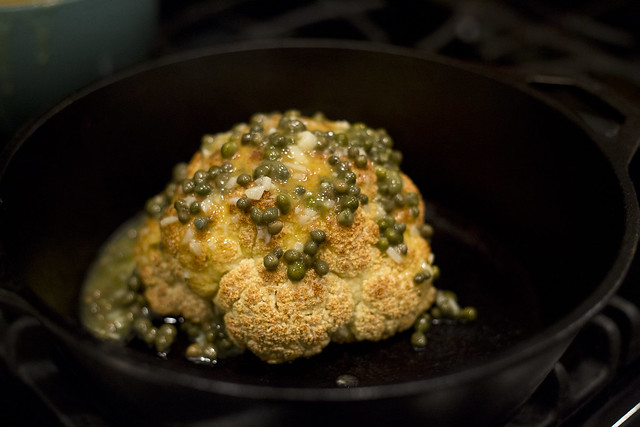
To make sauce, whisk together vegetable broth and flour in a small bowl or measuring cup. Heat 2 tbsp olive oil in a small saucepan over medium-high heat. Once hot, add the garlic and cook, stirring constantly until just fragrant, about 30 seconds (being careful not to burn). Add lemon juice, capers, and flour mixture. Cook, stirring constantly, until thickened, about 2 minutes. Remove from heat, season with salt and pepper to taste, and pour it on top of that hot cauliflower!

This all reheats well, too--makes great leftovers.

Bon appétit!

Cauliflowerpiccata_00

Tips and Tricks:
Short on time? Boil the cauliflower for about 10 minutes first, then roast. It will cook much more quickly (you'll want to give it at least 15 minutes in the oven after boiling).

*Gluten-free version: substitute gluten-free corn starch instead of flour.

Wednesday, September 30, 2015

Vegan MoFo Day 30: Fusion Challenge!

Untitled


Today's final Vegan MoFo entry is a fusion challenge!

I decided to go with my all-time favorite fusion--kimchi taco. Kimchi tacos are all the rage these days--I first had one on a food truck in Los Angeles, and have since progressed to regular lunches at Kimchi Grill in Brooklyn, which offers a variety of great vegan options!

I've never, however, made them at home, so I thought this was definitely a good excuse to give it a whirl!

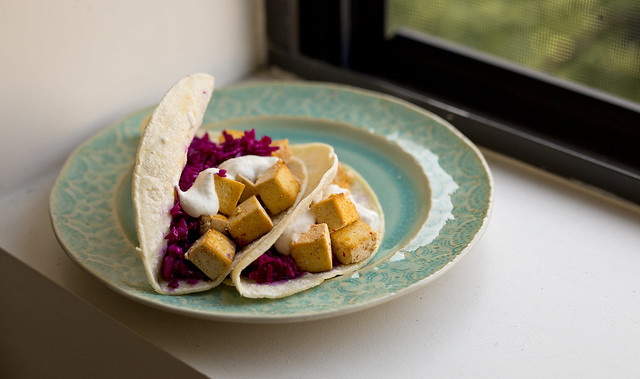
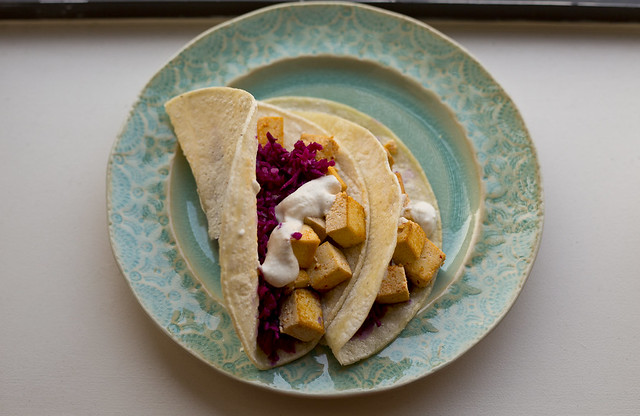
Vegan Kimchi Tacos with Cashew Crema

What You'll Need:
1 package extra-firm tofu, cut into cubes
Marinade:
1 cup veggie broth
1 tbsp soy sauce
1 cup kimchi (just be sure it's vegan--some have fish!)

Purple Slaw:
3 cups cabbage, shredded
1/4 cup rice vinegar
2 tbsp mirin

Cashew crema:
1/2 cup cashews (soaked for a few hours, if you don't have a highspeed blender)
1/2 cup milk
1/4 tsp garlic powder
juice from 1 lime (approximately 3 tbsp)
salt to taste

What You'll Need To Do:
Press your tofu and cut into 1/2" (or so) cubes. Place in the marinade for at least 30 minutes, up to overnight. While the tofu is marinating, you can prepare your cashew crema and purple slaw.

For the purple slaw, simply mix all of your ingredients together.

For the cashew crema, add all ingredients to a blender and mix until smooth (this may take several minutes depending on your blender).

Tips and Tricks:
You can save that kimchi marinade and use it for something else, or even put the cabbage in your taco for an extra kimchi kick!

Cashew crema is my way of making an easy, unprocessed cream, but if you want something even easier, you can also mix the lime juice and garlic powder in with some yogurt or even vegannaise (I know it sounds crazy, but trust me on this one), and then add a little dairy-free milk until you reach your desired consistency.

Untitled

Monday, September 28, 2015

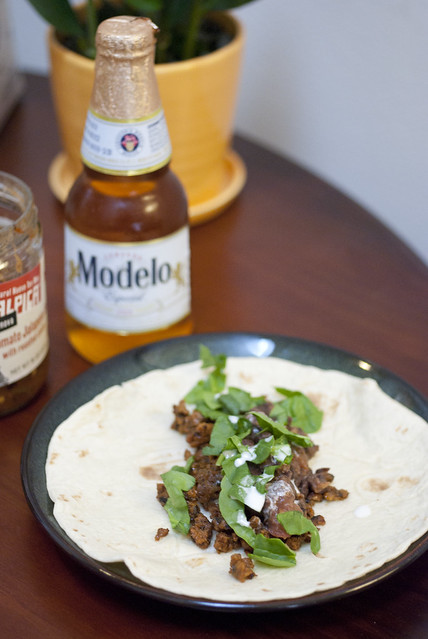
Vegan MoFo Day 28: Tacos vs. Burritos

Untitled


Today's Vegan MoFo entry asks the age old question...taco vs. burrito--who reigns supreme?

I know, I've chosen a pretty ambiguous photo!

That's because--let's get real people--it's all about the fillings! And I'm not taking the easy way out here, though I could see how you might think that. I am a taco girl at home and I am all about the burritos at restaurants.

Why?

At home I can have as many tacos as I want, and I don't have to fold them into a burrito shape. In the real world, I can eat a gigantic burrito, and have someone else stuff it for me. I do occasionally stray from this rule...(Kimchi Taco, anyone?) but generally speaking, that's how I roll. Also I like to fry my soft shells in a little oil before I eat my tacos (yummy! and a little harder to do with a burrito).

So let's talk about those taco/burrito fillings!!

Untitled

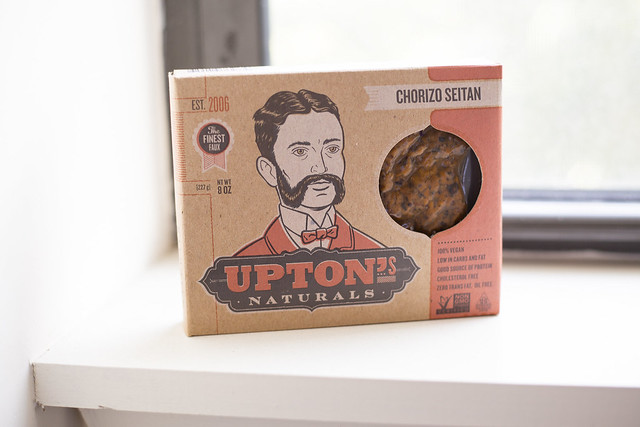
Upton's Naturals makes a pretty kickass chorizo seitan. I combined these with my bean filling (see recipe below) and some cashew crema and my husband said it was hands down the best burrito he'd ever had (I'm not sure I'd go quite that far, but I have to say it was pretty darn delicious).

Also, how about some beans!!
Easy Taco/Burrito Bean Filling
What You'll Need:
1 tbsp oil
1 small white onion, chopped
1/4 tsp chile powder
1/8 tsp cayenne, plus more to taste
1/4 tsp salt, to taste
1/4 tsp cumin
1/8 tsp coriander
1 tomato, chopped
1 package Upton's Naturals chorizo seitan
1 can black beans (15 oz.), drained and rinsed
1 lime, halved (optional)

What You'll Need to Do:
Preheat a skillet over medium-high heat, then add your oil. Add your onions and sauté with a few dashes of chile powder, cumin, salt and coriander. Add in tomatoes and seitan after 5 minutes, and continue to sauté until your onions are golden and beginning to brown slightly, another 3-5 minutes. Add in your beans and the rest of your spices and cook until heated through. Remove from stove and add a squeeze of lime, if desired. Add to taco or burrito!

*Tips and Tricks:
In a pinch, you can make this sans seitan. The flavored black beans are also very yummy on their own.

You can also add a bit of salsa into the mix. Stir in a little bit with the beans, or at the very end.

Check out more Upton's Naturals products if you can find them at a store near you--they are delicious! I can't wait to try the chili lime carnitas jack fruit--sounds like another amazing taco/burrito filling!


Wednesday, September 23, 2015

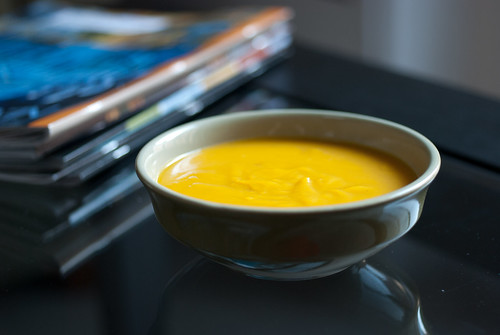
Autumn Equinox Eats: Vegan Butternut Squash (and Apple) Soup

vegan butternut squash soup

It's that time of year...there's a chill in that autumnal air, and soup season has definitely begun!

For today's Autumn Equinox VeganMofo entry I'm revamping an entry for my all-time favorite soup: butternut squash.

I've always loved butternut squash soup (who wouldn't, I ask?). A few years ago, however, I was introduced to a new type of butternut squash soup at a Thanksgiving meal with my husband's family when my mother-in-law brought butternut squash soup with green apple. If you've ever tried it before, you know how amazing that extra tart note is in this dish. It balances the sweetness of the squash perfectly!

If you've never had the pleasure of delving into a bowl of butternut squash-apple goodness, it is something that must be tried to be fully understood.

This recipe is adapted from Simply Recipes.

Butternut Squash and Apple Soup
What You'll Need:
2 tbsp margarine (I recommend Earth Balance)
1 medium yellow onion, chopped
1 rib of celery, chopped
1 carrot, chopped
1 butternut squash (about 20 oz), peeled and chopped (or you can buy some pre-chopped and peeled squash--much easier!)
1 Granny Smith apple, peeled, cored, and chopped
3 cups vegetable broth
1 cup apple cider*
pinch of nutmeg, cinnamon and cayenne, to taste
salt and pepper, to taste
chives, optional
vegan sour cream (or cashew or coconut cream), optional

What You'll Need to Do:
Heat a large pot over medium-high heat. Melt the butter in the pot, then add the onion, carrot and celery and sauté for about 5 minutes. Add the broth and apple cider, along with the butternut squash and apple. Bring to a boil then reduce to a simmer and cover. Simmer for approximately 30 minutes, until the squash and carrots have softened. Once everything has softened, puree in your blender in batches (be sure to release the steam if your blender does not do that for you!), or with an immersion blender. Mix in your nutmeg, cayenne, salt and pepper, to taste. Top with some vegan cream, if using.

Tips and Tricks:
I like to pair this with some sourdough toast and roasted broccoli. I'd also recommend adding a cashew or coconut cream swirl on top--or some vegan sour cream.

*I love adding apple cider to this soup! It kicks up the apple quotient just a bit and it's delicious. In a pinch, however, water will do fine as well.

Sunday, September 20, 2015

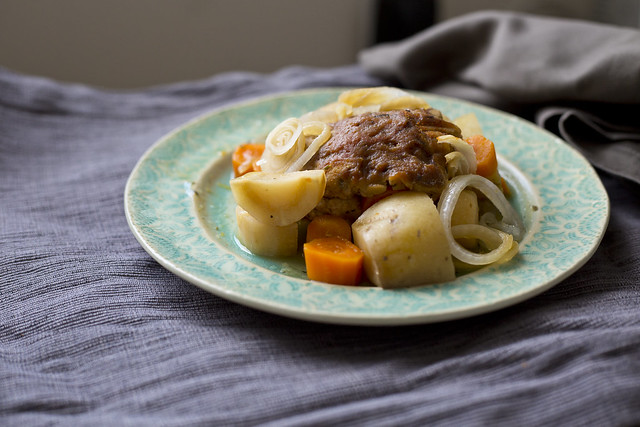
Veganize a Family Recipe: Vegan Pot Roast

Untitled


Today for Vegan MoFo we're veganizing an old family recipe.

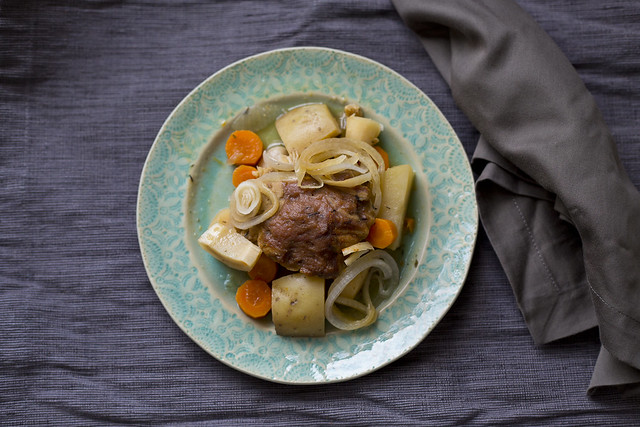
I come from a family of Hungarian Jews, so I could think of nothing more appropriate than this slow-cooker pot roast, particularly because this is the dish my mother makes for nearly every major holiday. I'd never made a vegan pot roast before, but having recently acquired a slow cooker, I was up for the challenge!

UntitledBecause I was a little pressed for time with this entry (i.e. no time to experiment too much), I simply adapted my mother's recipe with a little seitan pot roast help from Robin Robertson's recipe from Fresh From the Vegan Slow Cooker (along with a few embellishments of my own).

Untitled

What You'll Need:
for the seitan:
1 1/2 cups vital wheat gluten
1/2 cup chickpea flour
1/4 cup nutritional yeast
1 tsp onion powder
1/2 tsp dried thyme
1/2 tsp salt
1/4 tsp freshly ground pepper
2 tbsp liquid aminos (or soy sauce)
1 tbsp ketchup
3 tsp olive oil (two to mix into seitan and one to coat)
1 1/4 cups vegetable broth
1/4 tsp smoked paprika, plus more for sprinkling

for the rest:
4-5 carrots, peeled and chopped into 1/2-inch pieces
2 parsnips, peeled and chopped into 1/2-inch pieces
2 potatoes, cut into 1-inch chunks (you can use sweet potatoes, yellow, or idaho, whatever your fancy!)
4 garlic cloves, crushed
1 large onion, thinly sliced
3/4 tsp thyme
1/4 tsp liquid smoke
1 tbsp Bragg's liquid aminos (or soy sauce)
1 1/2 cups vegetable broth
1/4 dry white wine
a healthy dose of salt and black pepper

What You'll Need to Do:
Mix up all of the seitan ingredients in a bowl and knead for approximately 3 minutes, until elastic and holding together nicely. Then coat with additional tsp of olive oil and sprinkle with 1/4 tsp paprika.

In a small bowl or mixing cup, mix together your broth, liquid smoke and aminos (this is going to serve as a "beef"y broth base).

Coat your cooker with a small amount of oil, then add in your potatoes, carrots, garlic, parsnips and half of your onions to the bottom of the cooker. Season your vegetables with the thyme, salt, and pepper, and a dash of smoked paprika. Add in your wine and vegetable broth mixture.

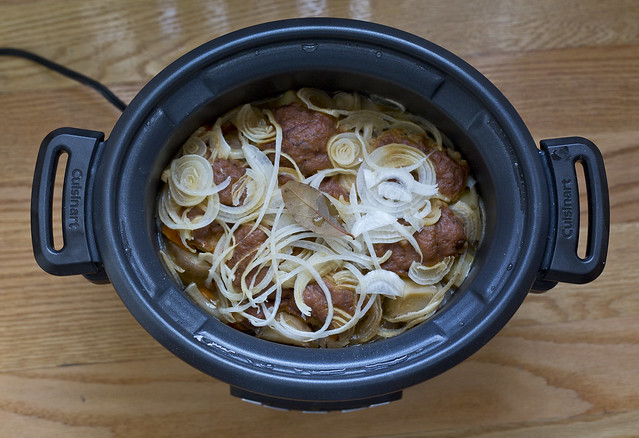
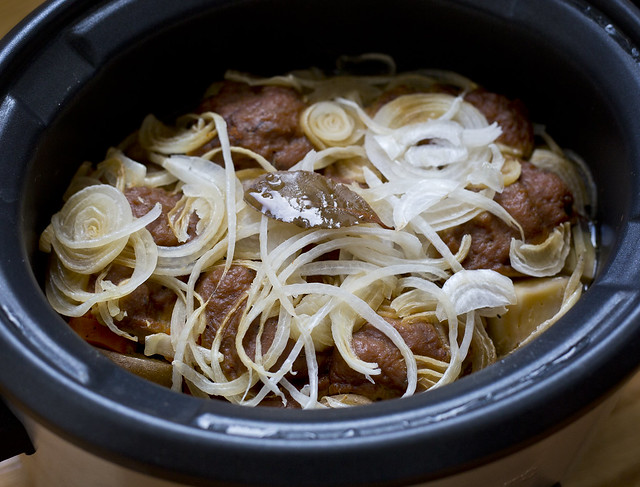
At this point you can either add the seitan in whole (Robertson recommends using oiled parchment paper or foil to keep it separated), or you can separate it into smaller pieces. I tried smaller pieces since I thought they'd absorb the rest of the flavors more readily that way.

Cover with the remaining onions, and add a bay leaf on top. Cover your cooker, and let simmer for approximately 8 hours, until all of your carrots and potatoes are tender.

This smells so amazing while it's cooking. The real trick is to wait those 8 long hours until it's ready!

Untitled

Tips and Tricks:
If you're looking for an even simpler seitan recipe, check out a totally different version on Robertson's site. Sounds like another good option!

By the way--if you're looking for a great vegan slow cooker recipe book--Robin Robertson's book is it! We love everything we've tried in there, and are so excited for slow cooker weather to be coming back around so that we can try even more!

Tuesday, September 15, 2015

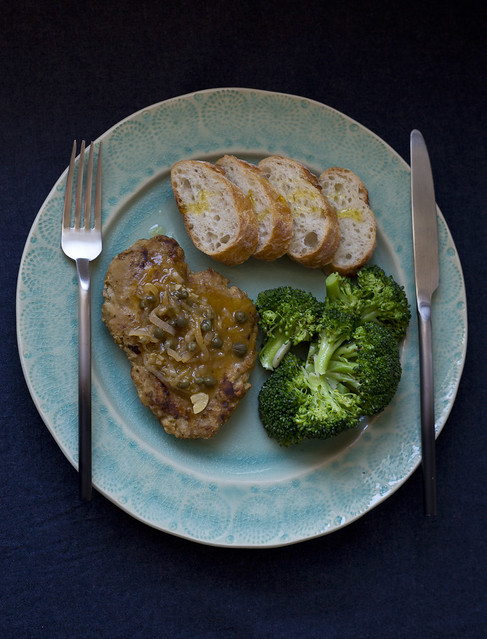
Barack Obama Meal--i.e. Seitan Piccata with Broccoli

20150914_LVE_0045

I'm going to keep today's entry short but sweet.

Today's Vegan MoFo prompt poses the question--what would you make if Barack Obama was coming over for dinner?

I interpreted this as--what is your absolute favorite meal that you'd love to share with someone to really make an impression?

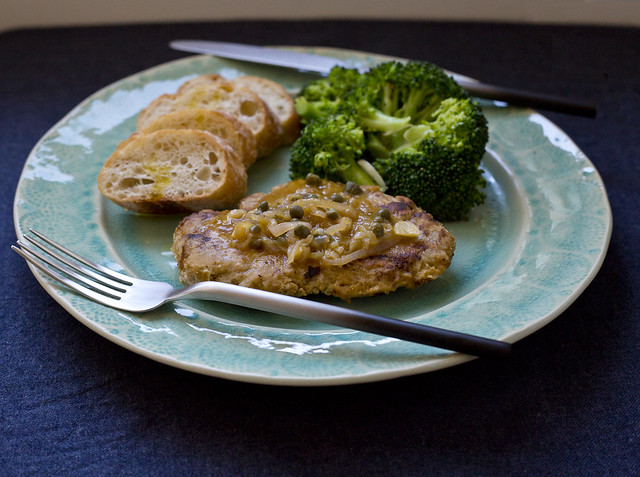
My answer--seitan piccata!! Seitan piccata is one of those meals I always enjoy when I go to a fancy vegan place (like Blossom or Candle 79), but somehow it always seemed a bit too crazy to make in my own kitchen. But no more!

Where did I go for this seitan piccata recipe you ask? Do you even have to ask? Veganomicon. But then I discovered that Isa has recently posted a slightly revised version on PPK! Either way, you won't be disappointed. This is so good (tasting the sauce made me do my happy dance). I made the chicken stylee seitan with this and I really love it for the taste and texture. Delish!

In discussing the post with one of my friends, her response was, "What does Obama like to eat?" Of course! So a quick google search told me--broccoli! I've paired my seitan with some broccoli (your welcome Obama!) sautéed with garlic, a splash of white wine and a pinch of oregano, basil, and thyme (and salt and pepper of course!).

If this plate looks a bit bare, let's just say I had some trouble with my yellow potatoes, so my mash never made it to the plate...but I'd definitely recommend serving over some mashed potatoes. That's the perfect piccata pairing, in my book.

20150914_LVE_0027

Monday, September 14, 2015

Sharing a Meal

alfredo_1

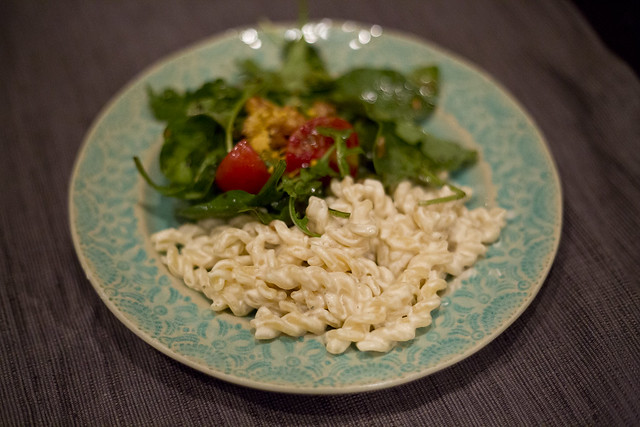
Today's prompt is all about sharing a vegan meal with a non-vegan. This was not much of a challenge for me, as I love having friends over for dinner! Most of our friends are omnivores, but they of course still love coming over for a good vegan meal whenever they're able.

For this entry, I thought I'd invite over one of my old friends who actually inspired me to start this blog in the first place several years ago. She's a curious woman by nature, and having not known any vegans particularly well before us, she was always asking, "but what do you eat?" After many meals together and sharing countless baked goods, this question no longer comes up, but she is always happy to come over and share a vegan meal together!

fettucine

I had never made her a nut-based sauce, so I thought we would try out my fettucine recipe. It was a big hit! She and my husband especially liked the balsamic salad dressing I threw together for us, so I will be including that in a future post. Bon apetit!

alfredo